Charry
Charry - Non Profit Charity WordPress Themes
- Author: Niche Theme
- Email: sales@cloodo.com
- Thank you for purchasing Charry WordPress Theme by ThemeFlat. Before you get started, please be sure to always check out these documentation files. We outline all kinds of good information, and provide you with all the details you need know to use Charry Theme.
- If you are unable to find your answer here in the documentation, please contact us email: sales@cloodo.com
Getting Started
Requirements
- PHP 5.3 or higher
- MySQL 5.0 or higher
- GD Library
- Self-Hosted WordPress 4.5.x
Forum Support
Recommended
Our theme requires a couple of following plugins to work properly
- Slider Revolution Responsive WordPress Plugin
- themesflat plugin by Niche Theme
Besides, our product is also compatible with these plugins to provide you more function in use
- Contact Form 7
- Woocommerce
Theme Installation via WordPress
Once you've downloaded the installation file on ThemeForest, extract it and locate a file called Charry.zip. You can install the theme by using one of two installation methods.
Please, follow the steps below to install Charry Theme.
Install by WordPress Theme Manager
This is probably the simplest way for most users. Here are steps you need to take:
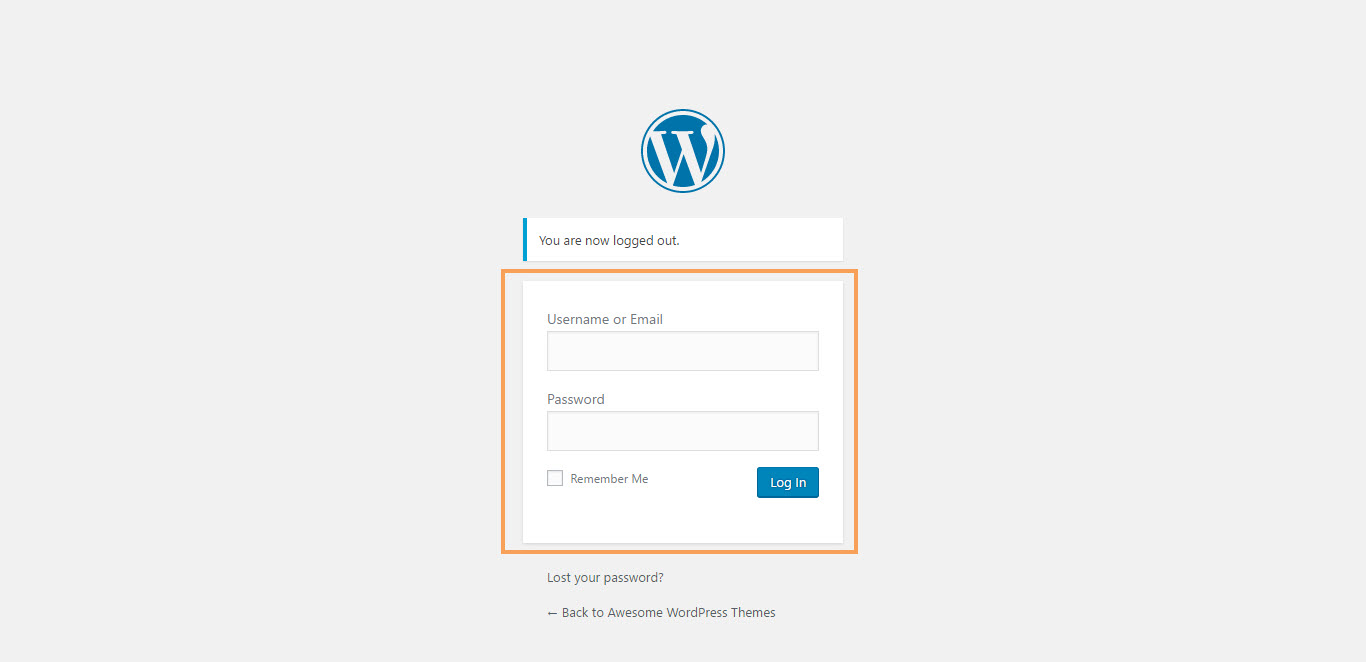
- Step 1 - Login to your WordPress Dashboard.
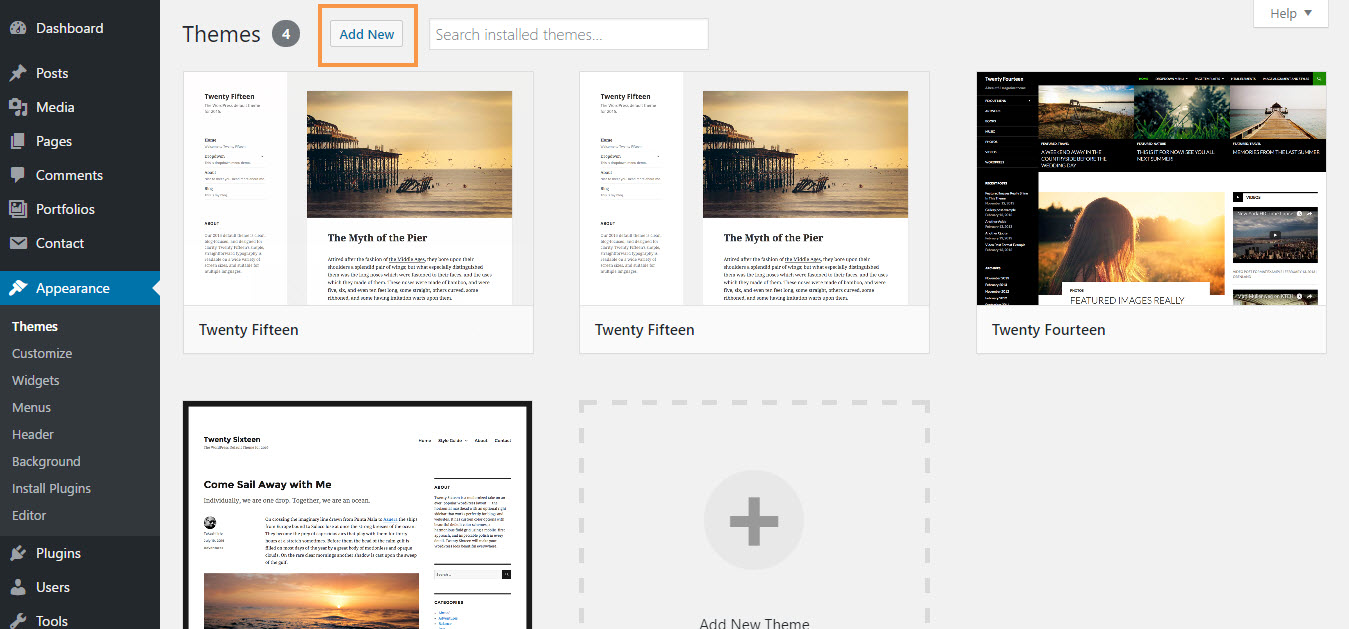
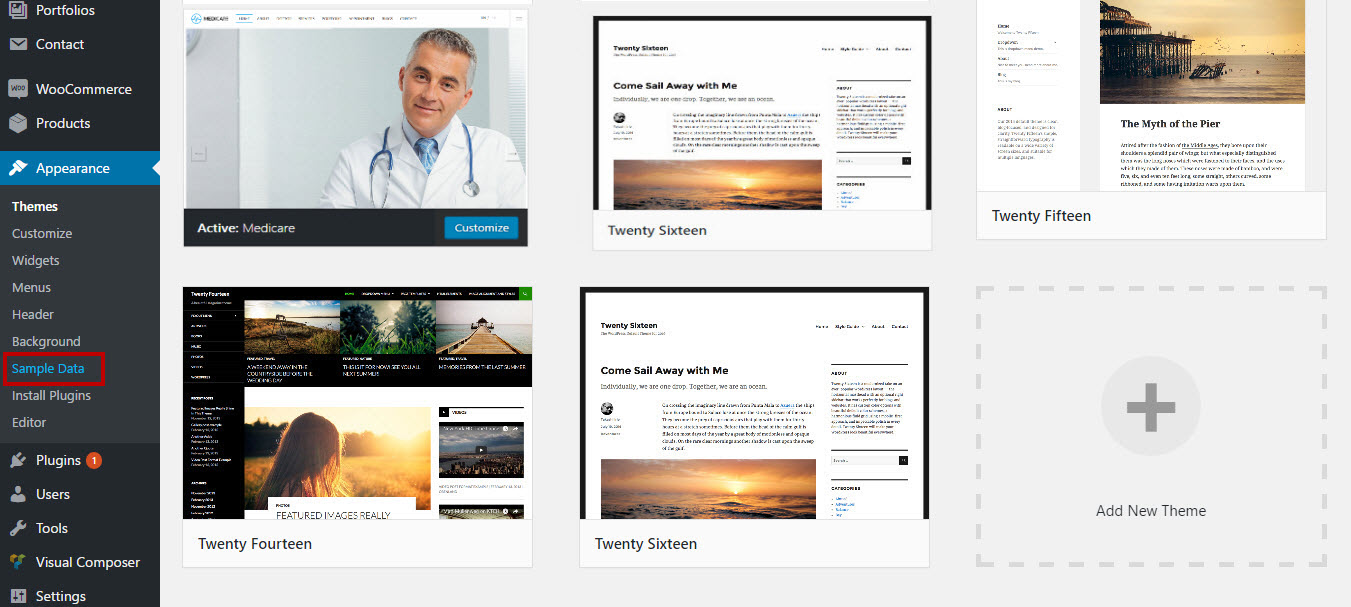
- Step 2 - Go to Appearance > Themes. And then click Add new button, located at the top of the screen or Add new theme (see screenshots below).
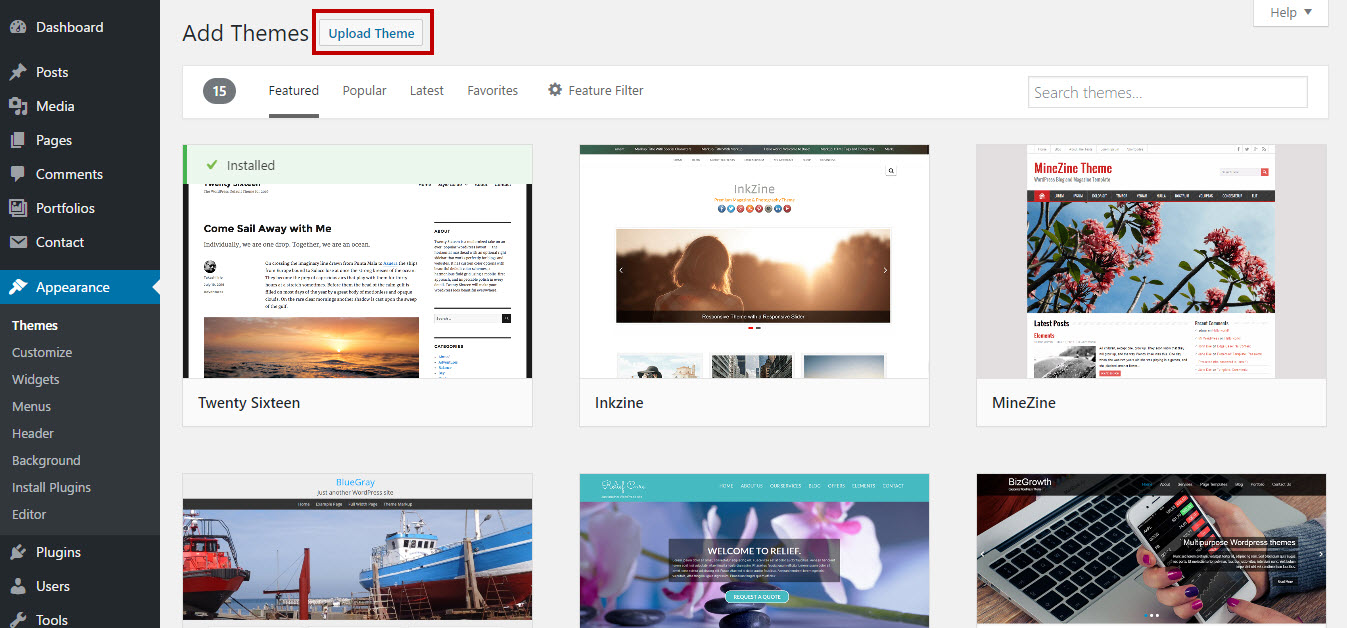
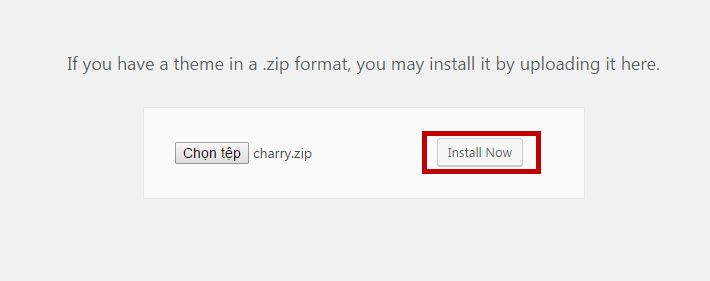
- Step 3 - Click on Upload button at the top of the screen.
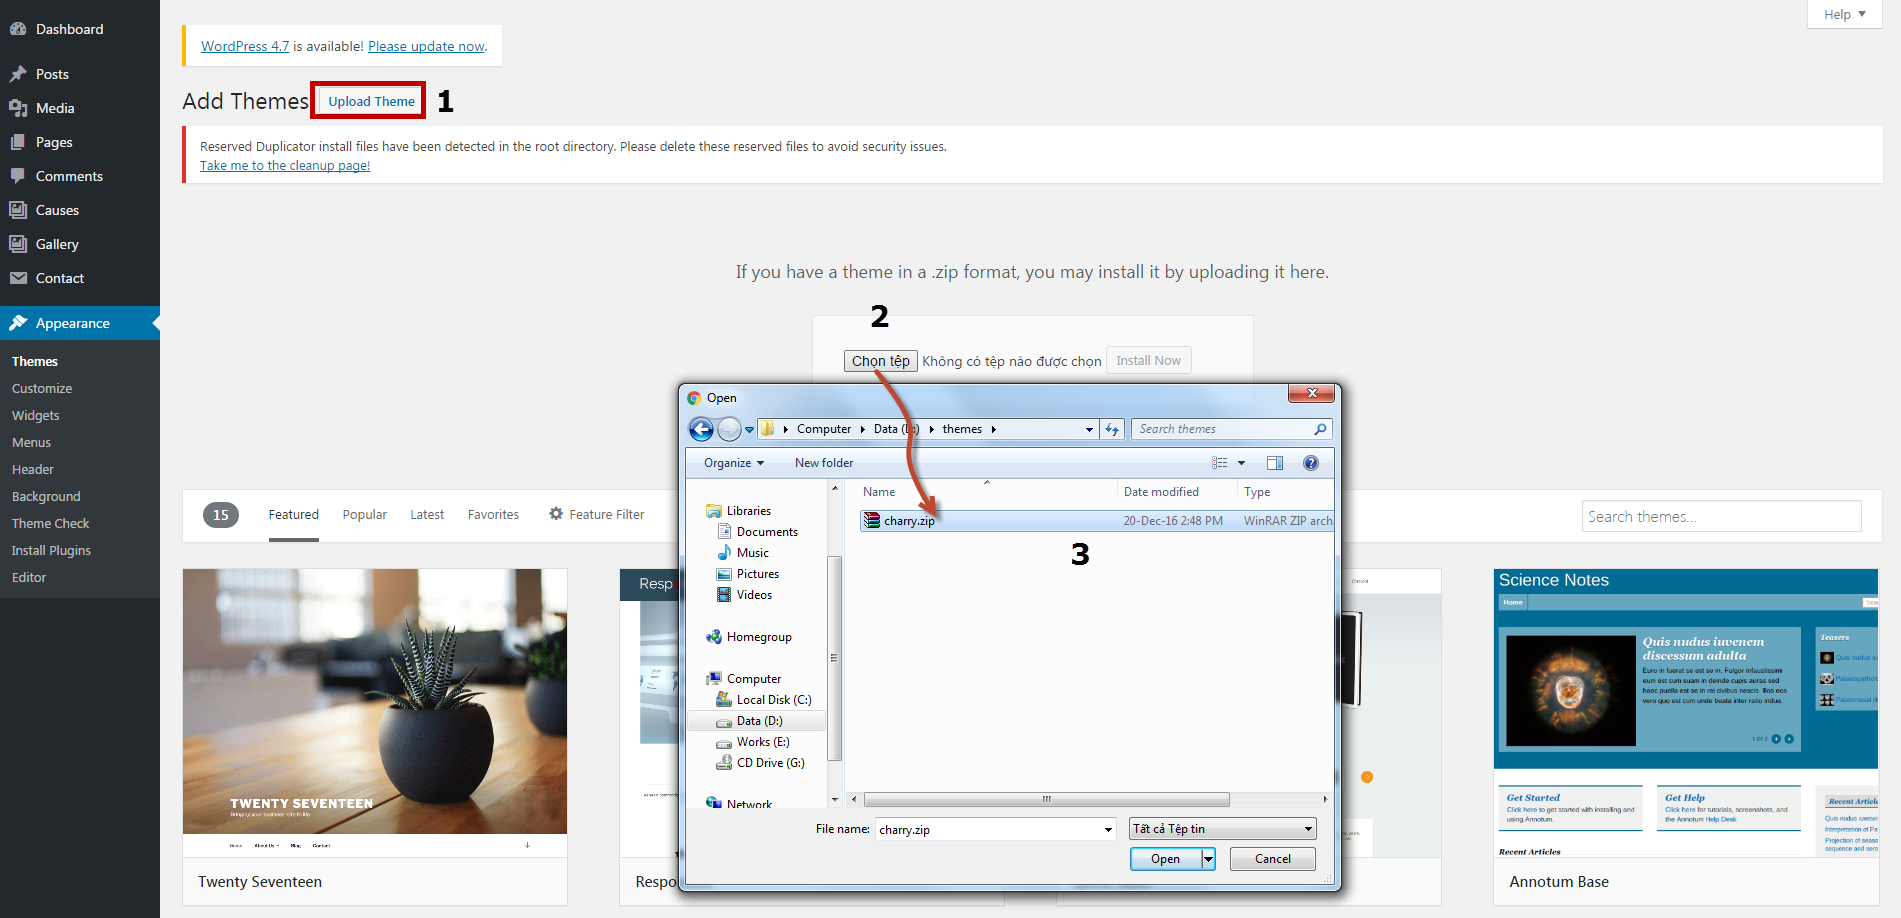
- Step 4 - Next, Click Choose File button to browse Charry.zip file in locate.
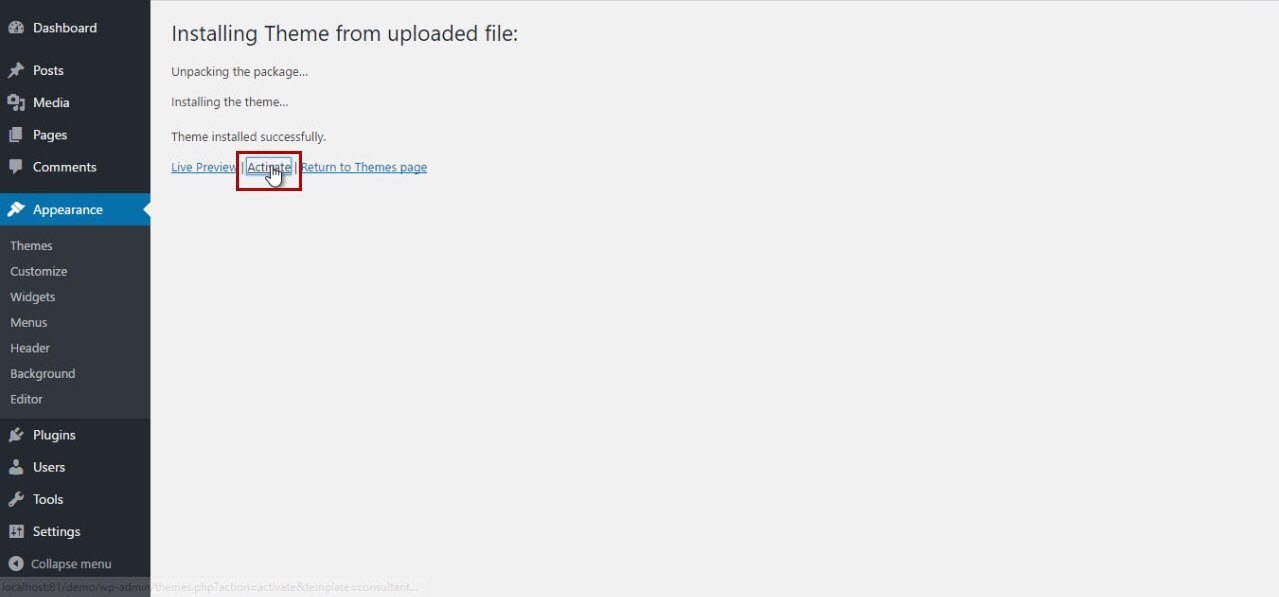
- Step 5 - Click Install button and wait a moment.
- Step 6 - After done installing, click Activate to publish the theme.
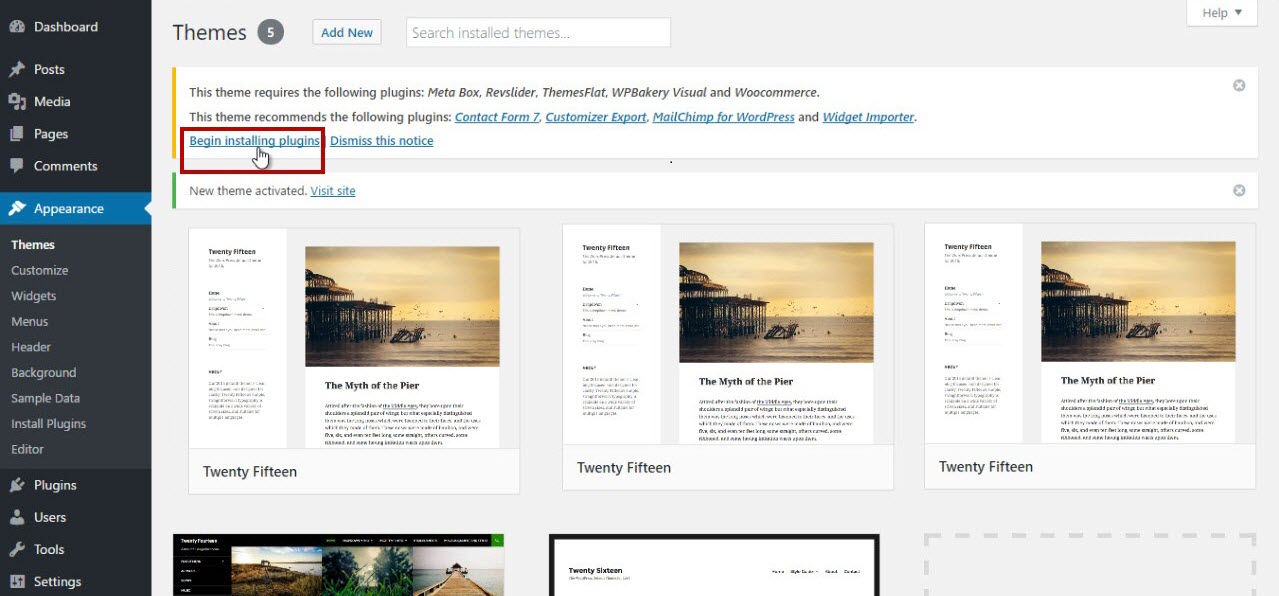
- Step 7 - After activating the theme a notice should appear on the top of the screen, click on link Begin installing plugins (see screenshots below).
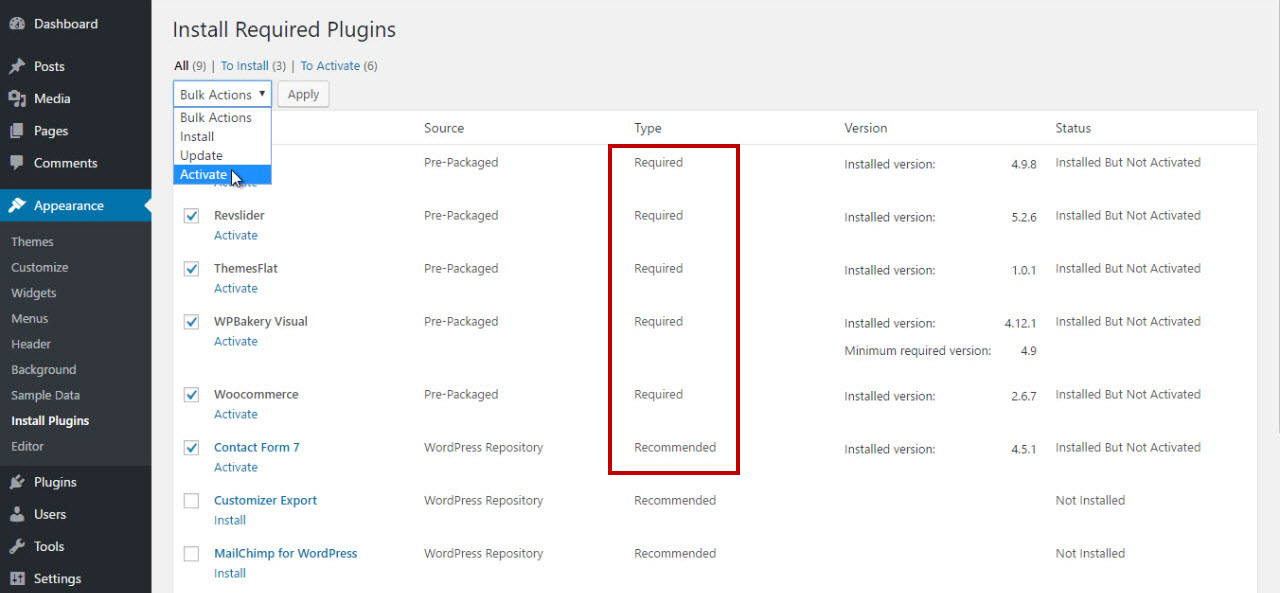
- Step 8 - After install plugins, go to Dashboard > Appearance > Install Plugins, check all the plugins you want to activate require for this theme
The theme requires the following plugin: Meta Box, Revslider, themesflat and shortcodes for Charry by themesflat, and recommends the following plugins: Contact Form 7, WooCommerce, MailChimp for WordPress.., Recent Tweets Widget..
Install Sample Data

Install through FTP upload
If you want to install via FTP, here are 3 steps you need to take:
- Using FTP client, login to the server where your WordPress website is hosted
- Using FTP client, navigate to the /wp-content/themes/ directory under your WordPress website's root directory
- Using FTP client, upload the Charry directory to themes directory on remote servers
Once installation is complete, your Charry theme will be ready to use.
Setup homepage
To set up the homepage you must create a new page, you can do so by navigating to Pages > Add New.The title for this page can be up to your liking. Under Settings -> Reading please setup the new Homepage.
Insert Video Demo Charry
Theme Customization
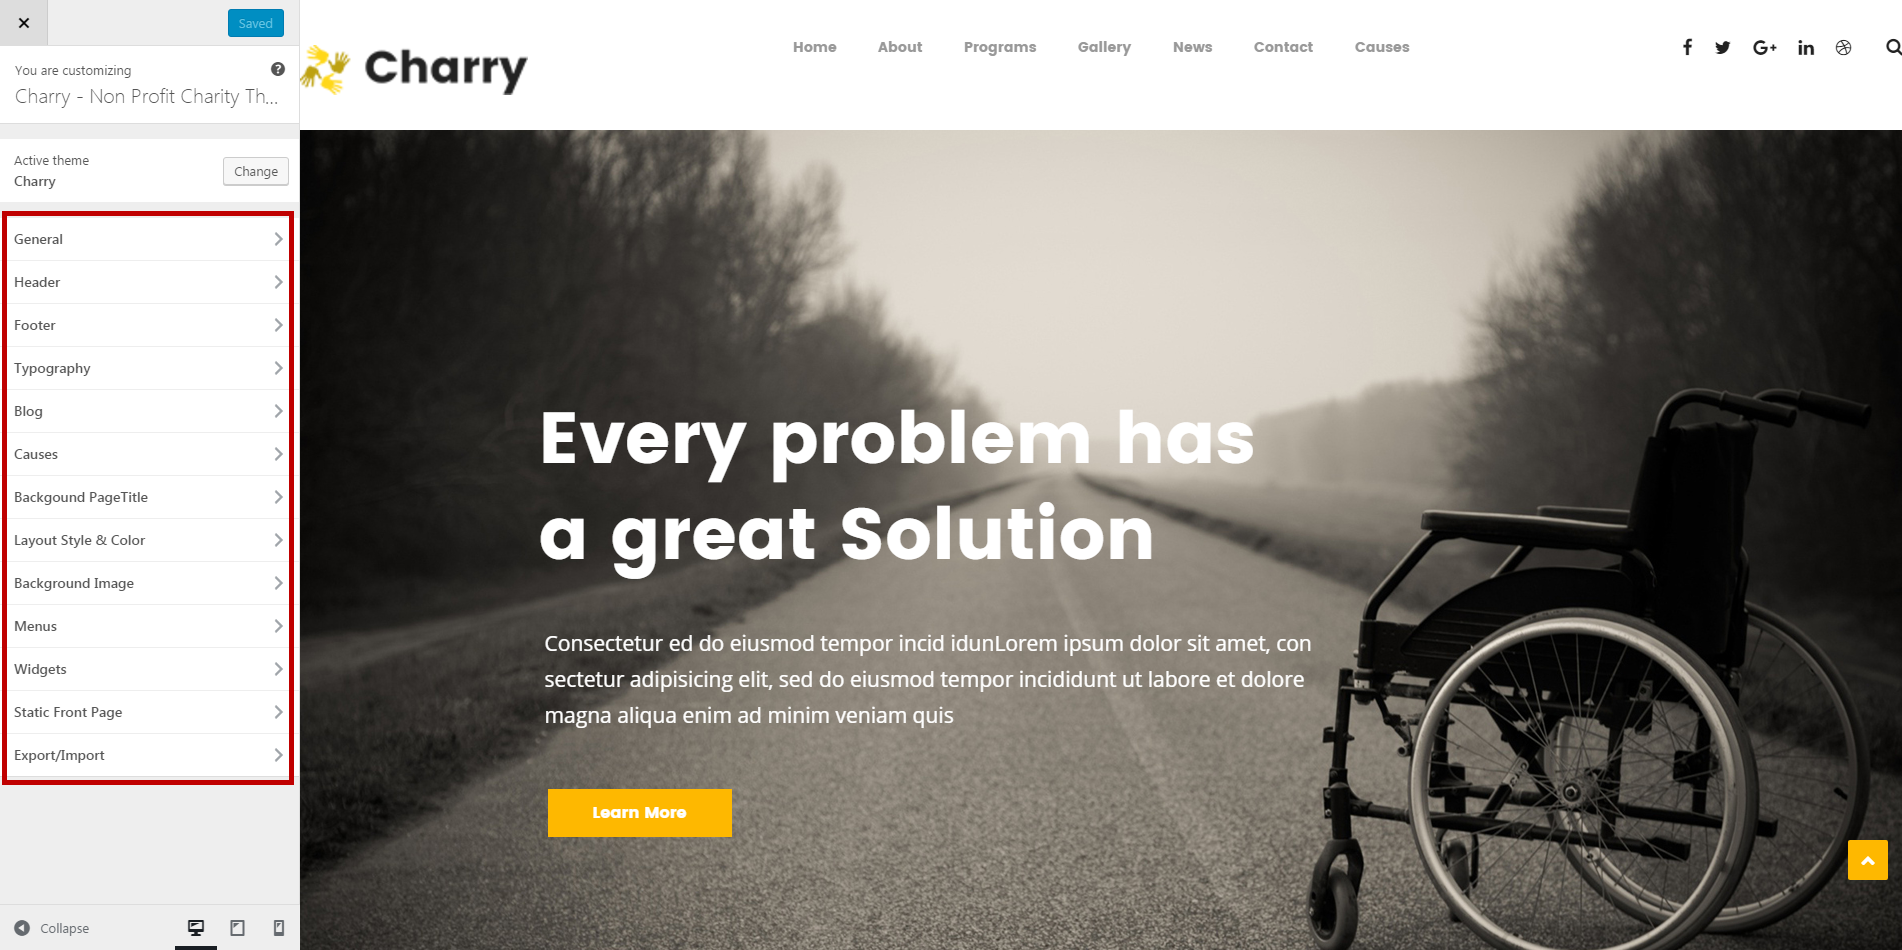
To start customizing Charry theme, in the Admin page please go to Dashboard > Appearance > Customize
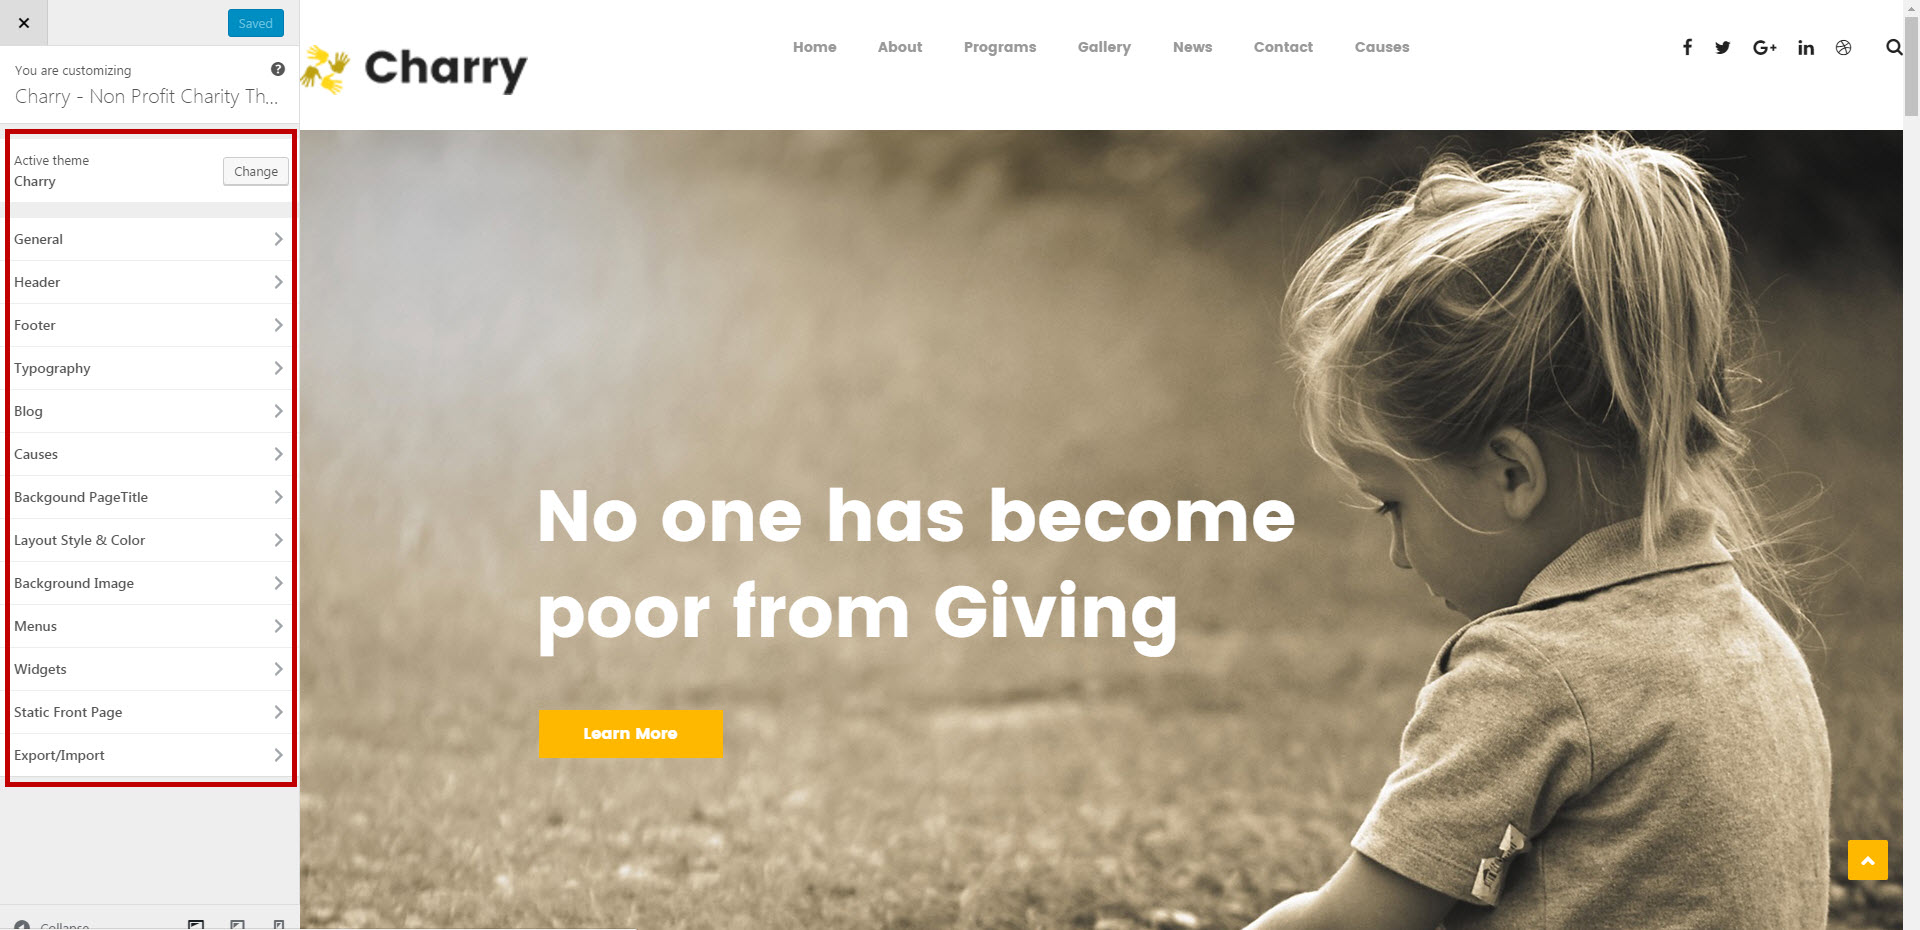
Please remember to click Save & Publish button after done customizing to save the changes
These are global settings so its effect is site-wide. These settings can be overridden in single post or page
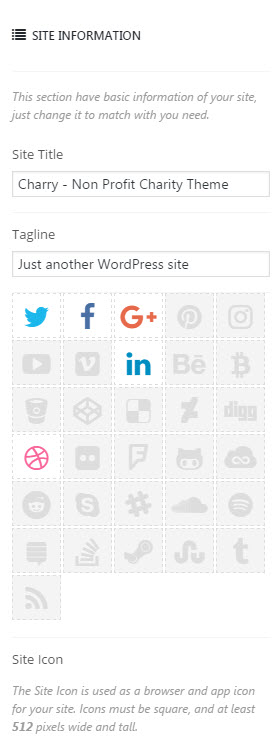
General
-
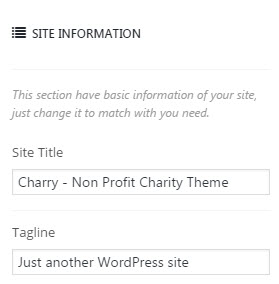
Site Information
-
Site Name: You can setup and change your sitename
-
Site Tagline: A few words to describe your site
To Customize Theme you go to: Dashboarb -> Appearance -> Customize
-
-
Social & Favicon

- Enable Go Top Button This option allows you to switch enable gotop or disable gotop
- Socials: Input link your socials display in website
Header
To setup header layout, please navigate to Dashboard > Appearance > Customize > Header section and choose one of available layouts. You can setup some other options we listed below:
-
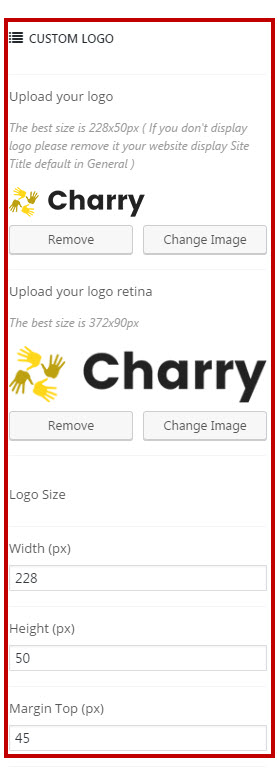
Custom Logo
-
Use Logo Image: When this option was turned on, the logo on header will be use as a custom image instead of your site name
- Display Site Tagline: Turn on this option to show site tagline below logo on the header
- Logo: Drag or select your new logo here
- Logo Margin: Input the top/bottom margin for logo
-
-
Header style

- Header style: Select header style for template
- Enable Sticky Header: Make the Heaher stick to the top page or not
-
Top bar

- Enable Topbar: Enable top bar or not
- Topbar Backgound: Set background for top bar
- Topbar Text Color : Set text color for top bar
- Content: Replace content for top bar
- Enable Social Links: Enable Social Links on top bar or not
Footer
Footer was divided into 2 different sections: Widgets & Content. The screenshot below will give you an explanation of these sections:

-
Page Callout
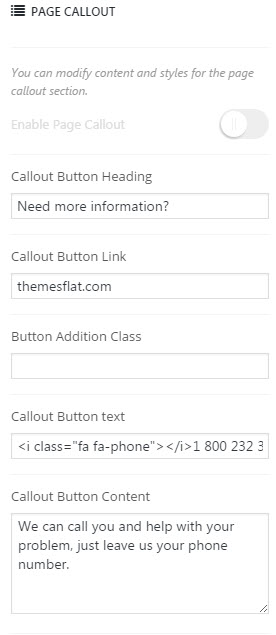
- Enable Page Callout: Turn on/off to show/hide the Page Callout on page
- Content: Replace content for page call out
-
Footer Widgets
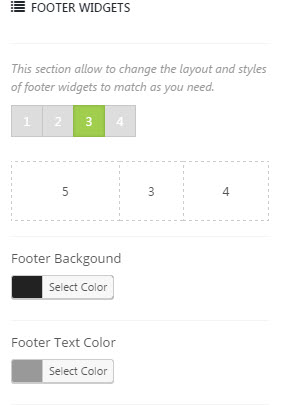
- Widgets Layout Select stlye for footer default , 1, 2, 3, 4 columns
- Footer BackgoundSelect background color for footer
- Text Color: Select the text color for this section
-
Custom Footer

- Footer Widget: This section allow to change the layout and styles of footer widgets to match as you need.
- Enable Social Links:Show/hide the social icons on the footer.
- Copyright: Input information you want to display on footer copyright area
- Bottom BackgoundSelect background color for Bottom
- Bottom Text Color: Select the text color for this section
Typography

- Body Font: You can select Font family, Font size Font weight or Font color for the body text
- Headings Font: You can select Font family, Font weight or Font size for the heading text, modify the font options for your headings. h1, h2, h3, h4, ...
- Menu Font: You can select Font family, Font size, Font weight or Font color for the menu text
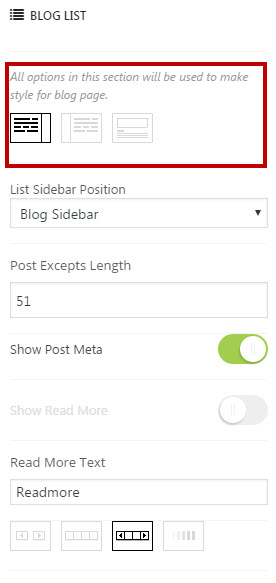
Blog
-
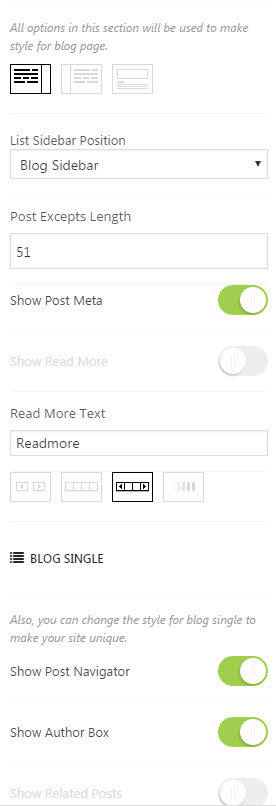
Blog List
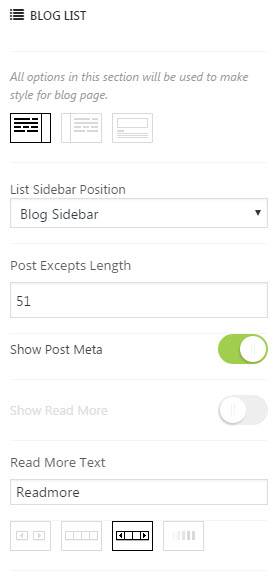
- List Layout: Select layout style for List (List/Grid)
- Grid Columns: Select how many columns will be displayed on a Grid Blog
- List Sidebar Position: Select sidebar position on the posts page
- Blog List Sidebar: In the dropdown box, select the sidebar you want to display on posts page
- Auto Post Excepts: When you turn on this option, the post's content will be truncated automatically on posts page
- Post Excepts Length: This option is only available when you turn on "Auto Post Excepts". It uses to limit the content length which is shown on posts page
- Show Post Meta: Turn on/off to show/hide the post meta
- Show Read More: Turn on/off to show/hide Read more button
- Read More Text: You can modify the text of Read more button here
- Pagination Style: Select the style of pagination links on posts page
- Posts Per Page: Input how many posts will be displayed per posts page
-
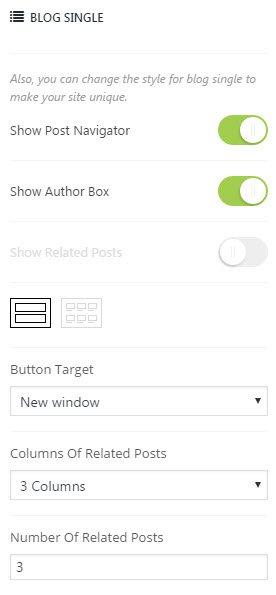
Blog Single
- Single Sidebar Position: Select sidebar position on each single blog post (No Sidebar/Left/Right)
- Show Featured Image In Header: Turn on/off to show/hide Feature image in Header
- Show Post Navigator: Turn on/off to show/hide Post Navigator
- Show Author Box: Turn on to show the author box below the post content
- Show Related Posts: Turn ON to show the related posts box
- Related Posts Style: Select style for the related posts box (Grid/Carousel)
- Columns Of Related Posts: Select how many columns will be displayed on the related posts box.
- Number Of Related Posts: Enter the number of posts you want to display on the related posts box
Layout & Styles
In the section Layout & Styles, we provide some options to customize the theme layout and styles.
-
Scheme Color
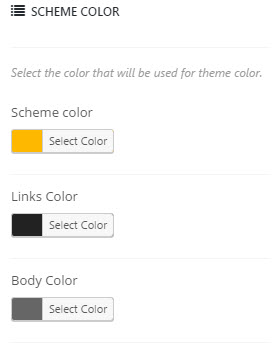
With this option, you can change unlimited color for your site
-
Layout

- Display Style: You can choose Boxed or Full width layout
- Content Width: Maximum width of the content area
-
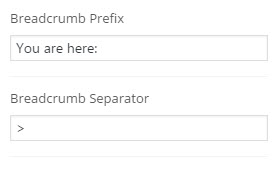
Breadcrumb
- Enable Breadcrumbs: Turn on/off to show/hide the breadcrumbs
- Breadcrumb Prefix: Enter prefix text for the breadcrumb
- Breadcrumb Separator: Enter the character you want to use as the separator of breadcrumb
-
Menu Color

- Header Text Color: Set color for element
- Mainnav a color: Set color for element
Now it's time to categorize this post.
- Under Format section, there is a section called Categories, select the category you want to assign to this post. Alternatively, if you'd like to create a new category, click on "+ Add New Category" A text field will unfold where you can enter a name for the category.
- Then click on "Add New Category".
- Once selected the category you want, click the "Publish button".
- Under the Categories section are the Tags and Featured Image sections. Here you can add some tags to your post, and upload an image which will be displayed as the Featured Image (the representative image) of the post in the blog list pages.
Now, you've finished the setup for your blog post.
Causes
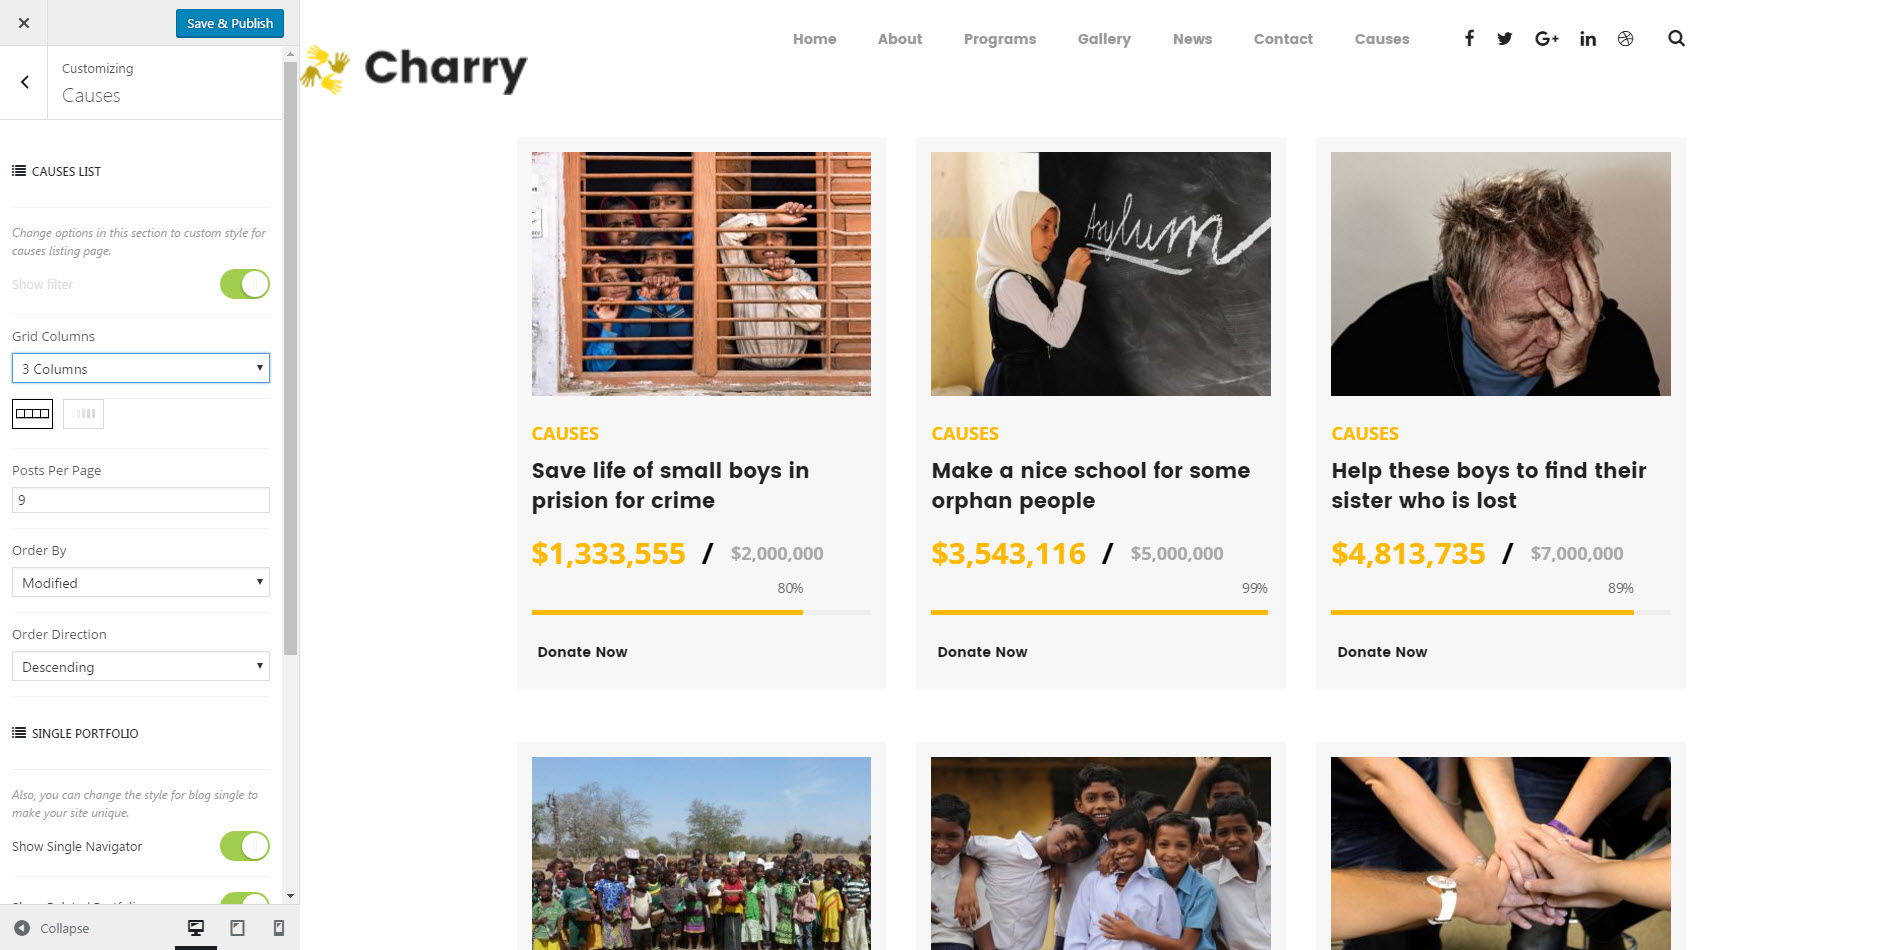
- Config portfolio Watch Video
-
Portfolio Archive

- List Sidebar Position: Select position for Sidebaron Portfolio page (No Sidebar/Left/Right)
- Portfolio List Sidebar: Select which sidebar will be displayed on the Portfolio page
- List Layout: Select layout style for Portfolio page (Grid/Masonry/Gallery/Justify)
- Grid Columns: Select how many columns will be display on Portfolio page
- Show Items Filter: Turn on/off to show/hide Project Filter
- Pagination Style: Choose style for Pagination (Pager/Numeric/Page & Numeric/Readmore)
- Post Per Page: Choose how many posts will be displayed on each Portfolio page
-
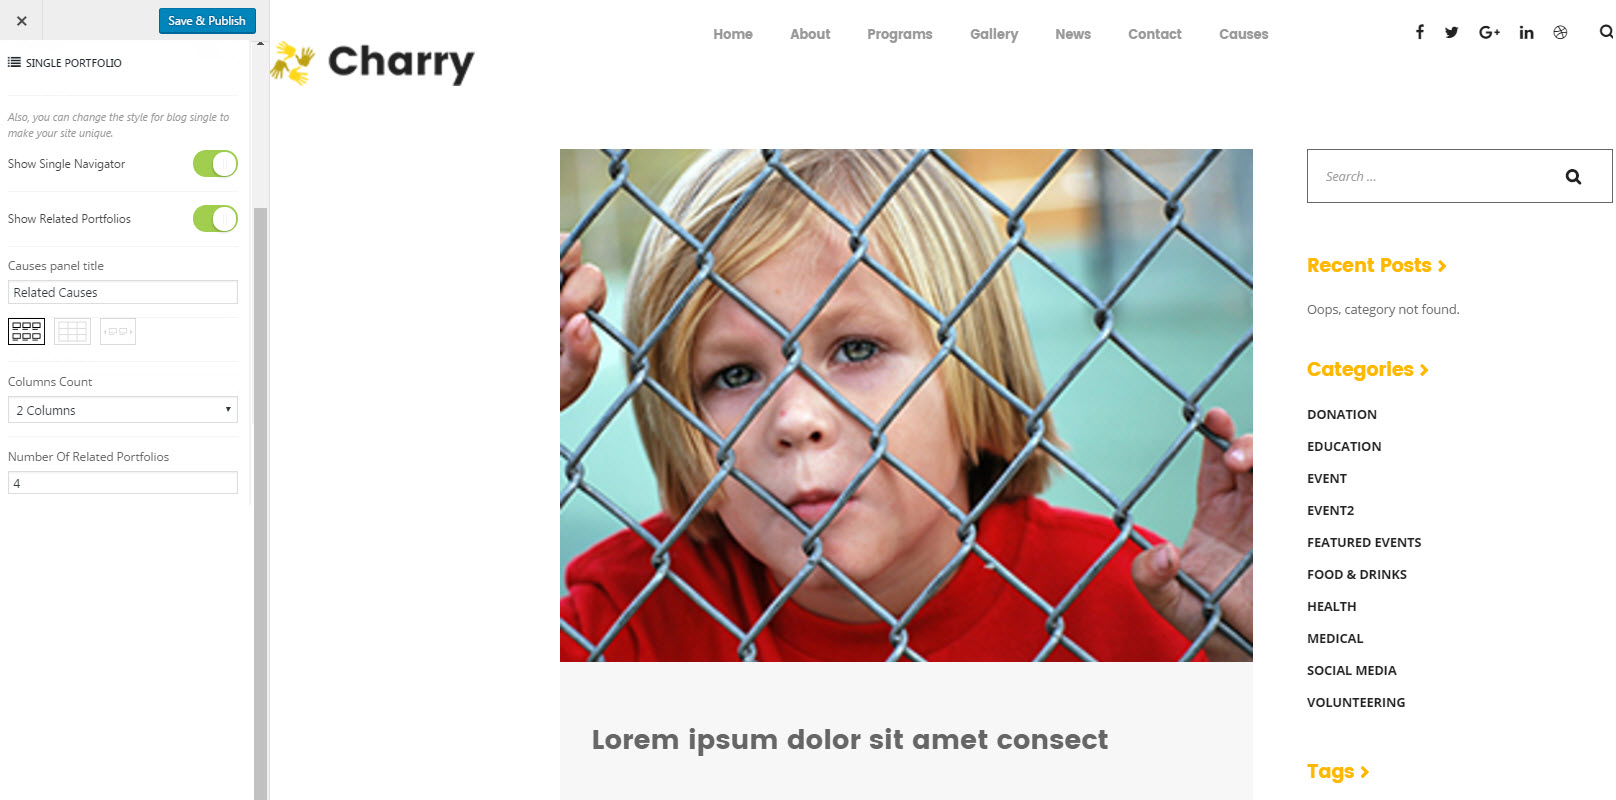
Portfolio Single
- List Sidebar Position: Select position for Sidebar on Single Portfolio page (No Sidebar/Left/Right)
- Single Project Sidebar: Select which sidebar will be displayed on Single Portfolio page
- Gallery Type: Select layout style for Single Portfolio page (List/Grid)
- Gallery Columns: Select how many columns will be display on Single Portfolio page
- Show Featured Image In Header: Turn on/off to show/hide Featured image
- Show Single Navigator: Turn on/off to show/hide Single Navigator
-
Related Portfolio
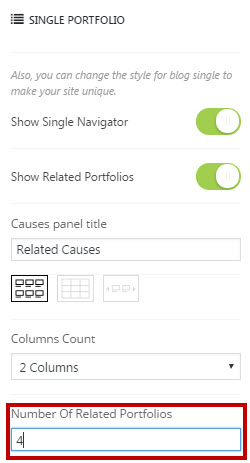
- Show Related Portfolio : Turn on/off to show/hide Related Portfolio
- Widget Title: Input title for Widget
- Show Related Items Based On: Choose Related items base on Tag/Category/Random/Recent
- Related Portfolio Style: Choose style Grid/Grid Masonry/Grid No Margin for Related Portfolio
- Columns Count: Select how many columns will be displayed on Related Portfolio
- Number Of Related Portfolio: Input how many Related Portfolio will be displayed
Pages Management
Creating your own page has been never so easy. To make the first step please go to Pages > Add new. At first sight, everything looks just like in default WordPress. But when you look at Visual/HTML area you will see some Page options or on Page Attribute panel, you will see some Page's templates which we explain below.
Page Templates
When creating a new page, one of the first things you might want to do is to assign a suitable template for it. To do this, please find the Page Attributes section on the right of the page editor. It comes with a variety of templates to choose:
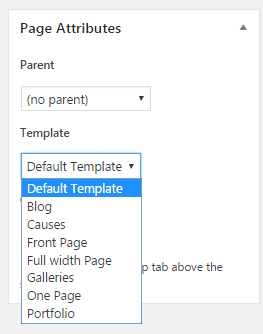
- Default Template: Choose this one if you want to create a standard page
- Blog: Choose this one if you want to create a page for listing blog posts
- Causes: Choose this one if you want to create a page causes
- Front page: Choose this one if you want to create a page homepage
- Page - Fullwidth: Choose this one if you want to create a page which its content will stretch to fit the browser's width
- Gallery: Choose this one if you want to create a page for gallery
- One page: Choose this one if you want to create a page for onepage
- Portfolio: Choose this one if you want to create a page for listing portfolio/li>
Page Options
Beside the page templates, we provide some special options to customize the page. All page options will be overridden by the global options of the theme. With "Blog" and "Projects" templates we have two separate sections with options for customizing.
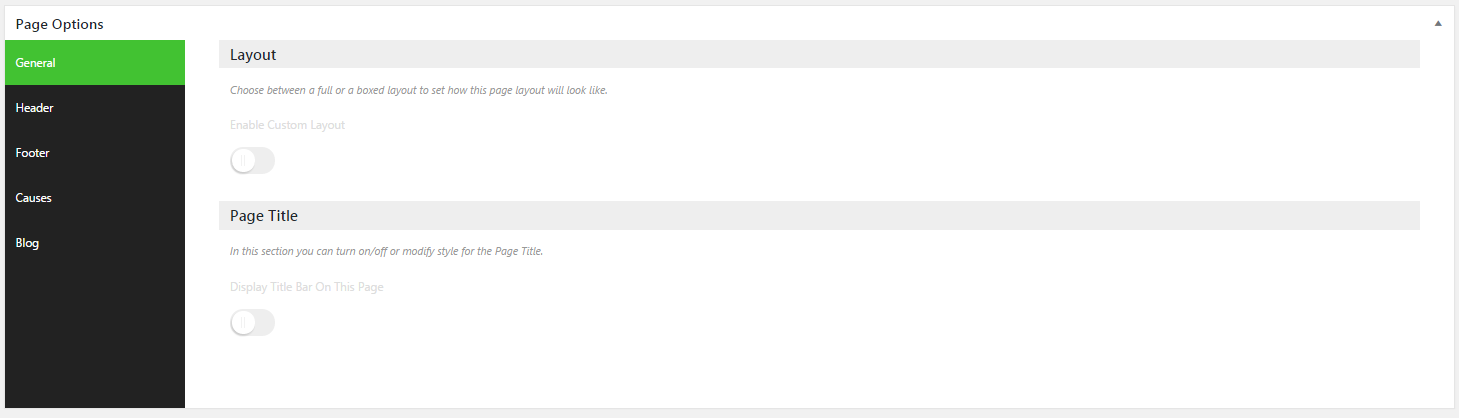
- General: Select the position of sidebar and page title, sidebar name you want to display (Default/No Sidebar/Left/Right)
- Header: You can Enable/Disable Top bar, custom Header, Navigation
- Footer: You can Enable/Disable Callout, custom Footer, Footer Widget
- Causes: Change options in this section to custom style for portfolio listing page.
- Blog: Custom layout for this page just work at blog template.
Shortcodes
The Charry theme as built with two shortcodes: [flat_portfolio] and [flat_post]. Their shortcodes will be used to listing projects into the page you need. Each shortcode has attributes I listed below:
[flat_portfolio]- category: The categories slug you need to filter the projects
- exclude: Enter the project ID to exclude it, separate by the comma
- layout: Can be “masonry”, “grid”, “gallery”
- columns: How many columns you need to display
- limit: How many projects per page
- filter: “yes” to show the projects filter
- filter_by: “category” or “tag”
- class: The extra class name for the projects grid
- category: The categories slug you need to filter the projects
- exclude: Enter the project ID to exclude it, separate by the comma
- limit: How many projects per page
- class: The extra class name for the projects grid
- Iconbox: [iconbox][/iconbox]
- Image slider: [imagebox_slider][/imagebox_slider]
- Image box: [imagebox][/imagebox]
- Image List: [/iconlist_item][/iconlist]
- Image Testimonial: [testimonial_slider][testimonial][/testimonial][/testimonial_slider]
- Title Section: [title-section][/title-section]
- Portfolio: [portfolio]
- Portfolio: [maps] ...many more
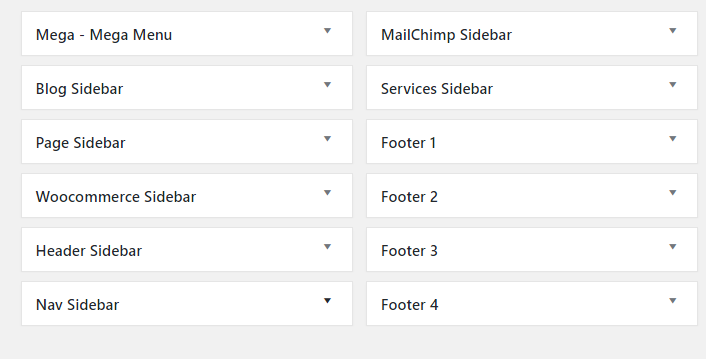
Sidebars Management
This theme has some default sidebar to use:
- Blog Sidebar: This is the default sidebar, it will be displayed on the left or right of your blog depend on the sidebar layout option.
- Page Sidebar: This is the default sidebar for page, it will be displayed on the left or right of your page depend on the sidebar layout option.
- Woocommerce Sidebar: This areas will be used to display on Woocommerce page
- Header: This areas will be used to display widget search on header
- Footer Widget 1: This areas will be used to display on footer widgets 1
- Footer Widget 2: This areas will be used to display on footer widgets 2
- Footer Widget 3: This areas will be used to display on footer widgets 3
- Footer Widget 4: This areas will be used to display on footer widgets 4
Beside the built-in sidebar areas, we provide a feature called "Custom Sidebar". With this feature, you can create unlimited sidebar areas. To create a custom sidebar, just navigate to Appearance > Widgets you will see the box "Create Widget Area" on the right. Please enter the sidebar title as you want and click to "Create" button, a custom sidebar will be created.
Contact Form
Contact form is not a built-in feature (for many reasons) so we recommend you should use a third-party plugin. The free one we suggest is Contact Form 7 which can be used to add forms anywhere in your site!

MailChimp for WordPress
		<h3> subscribe </h3>

		  <p>

		   <label>Subscribe to get the latest </label>

		   <input type="email" name="EMAIL" placeholder="Enter your email address" required />

		  </p>

		  <p>

		   <input type="submit" value="Sign up" />

		  </p>
After install and config bellow code you please enter The API key for connecting with your MailChimp account.Get your API key here.

Translation
- Download and install Poedit at https://poedit.net/download. Open file Charry.pot in "/wp-content/themes/Charry/languages" folder and edit into your language. See Wordpress in your language for more details about file name.
- Open file wp-config.php in your Wordpress root folder and add the line define('WPLANG', ''); remember replace '' by the language you want. See Installing WordPress in Your Language for more details.
Credits
Images
- Photos: The images used on the demo site are for demonstration purposes only and are not included in the download file.
-
Icons Font
- Font-Awesome (http://fontawesome.io/)
-
Javascript
- jQuery (http://jquery.com/)
- jQuery UI (http://jqueryui.com/)
- jQuery Countdown (http://rendro.github.io/countdown/)
- jQuery CounterUp (https://github.com/bfintal/Counter-Up)
- Flexslider (http://flexslider.woothemes.com)
- Isotope (http://isotope.metafizzy.co/)
- WayPoints (http://imakewebthings.com/jquery-waypoints/)
- PrettyPhoto (http://www.no-margin-for-errors.com/projects/prettyphoto-jquery-lightbox-clone/)
- Images Loaded (http://desandro.github.io/imagesloaded/)
- FitVids (http://fitvidsjs.com/)
- OWL Carousel (http://owlgraphic.com/owlcarousel/)