| Date | Version | Changed by | Change Description |
|---|---|---|---|
| Jan 10, 2017 | 1.0 | Amor admin | Intial Release |
➢ Go to Dashboard > Appearance > Themes and Click on Add New

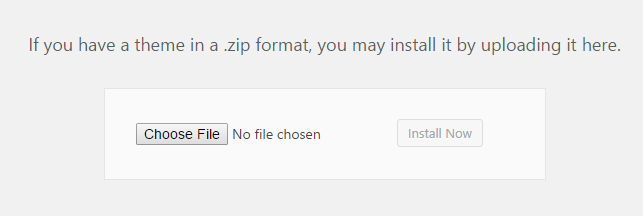
➢ Click on Upload Theme
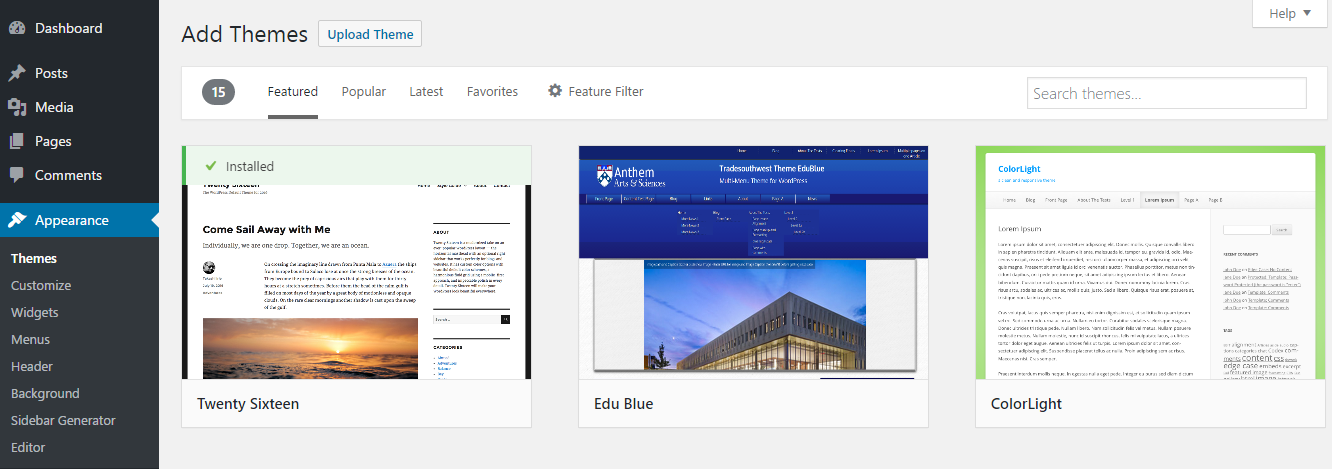
➢ Click on Choose File and from your download package select Potara.zip
➢ Click on Activate
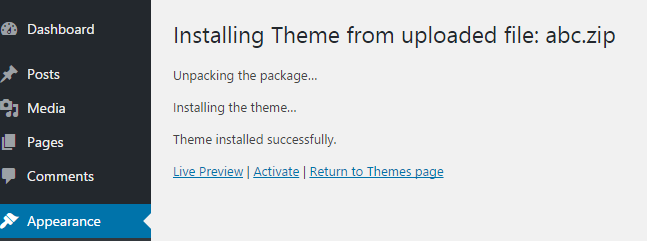
After activate theme.
➢ Click on Begin Installing Plugins
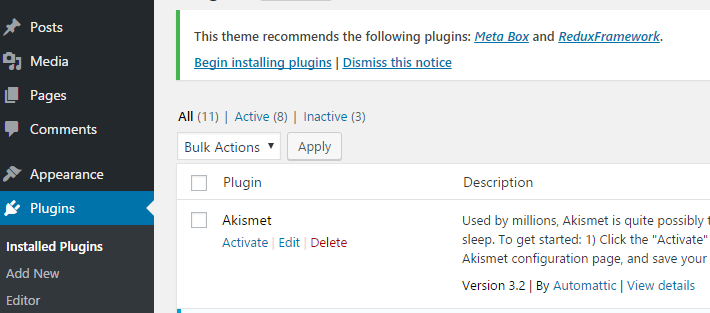
➢ Click on Bulk Actions and choose Install,then click on the Apply button to install and activate plugin(This process may take a while on some hosts, so please be patient)
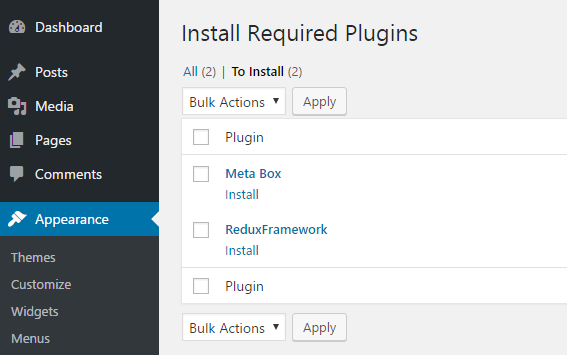
➢ Now,this plugin is installed and activated
We need to complete 3 steps as below to finish demostration importing
Note: to avoid duplicated contents, please reset all old setting of Pages, Menus, Widgets
Please follow this section step by step.
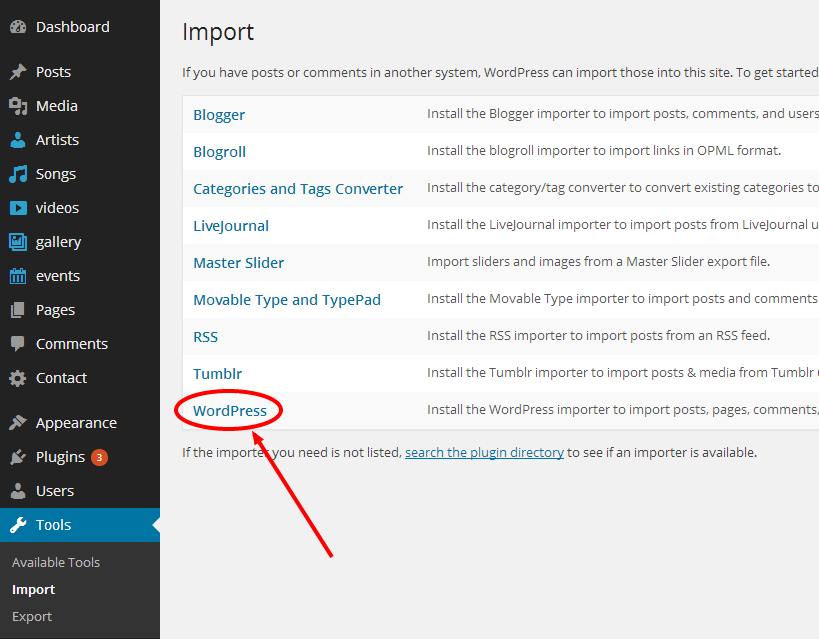
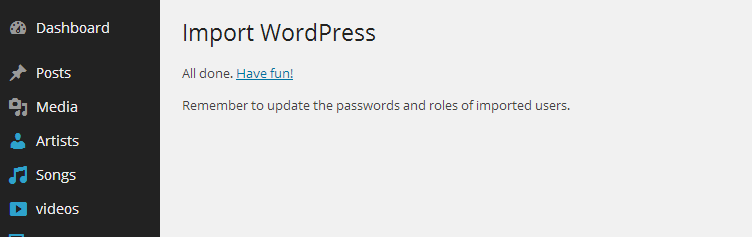
➢ Go to Dashboard > Tools > Import and Click on Wordpress
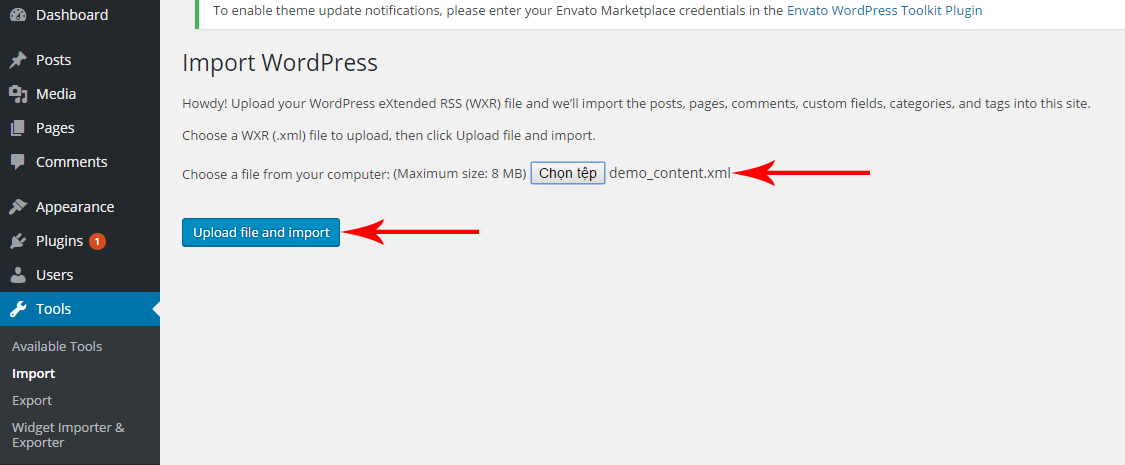
➢ Choose a demo_content.xml file from your download package and then click on Upload file and Import
➢ Assign Authors,tick on Download and import file attachments,then click on Submit
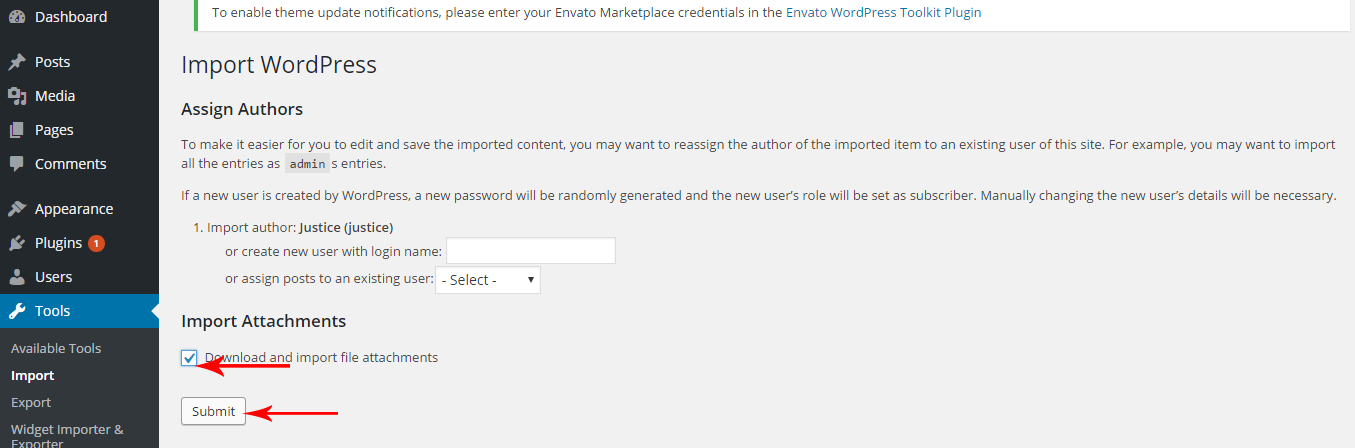
➢ This process may take a while on some hosts, so please be patient. (some hosts between 5-6 minutes)
Note (important): After importing, we should set Homepage as Front Page (See section 5.1)
Moreover, the images may be incorrected size.
To correct them, please use the Regenerate Thumbnails plugin to resize all the thumbnails.
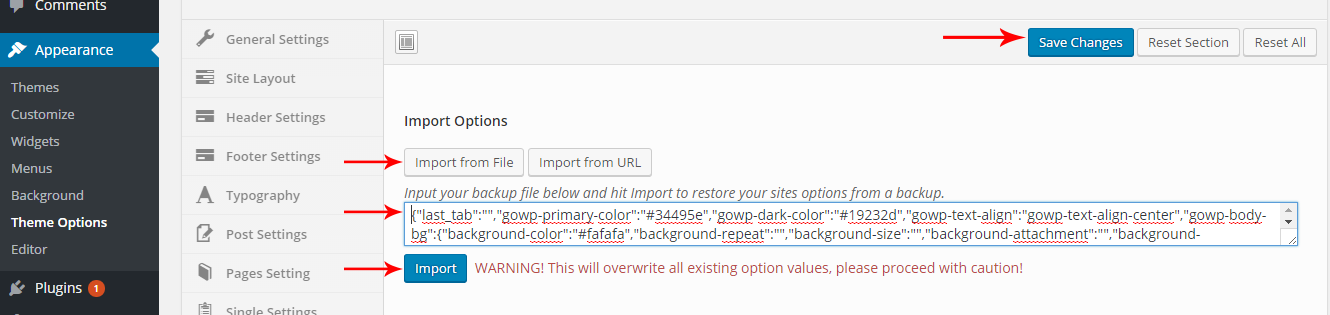
➢ Go to Download package > folder demo content and open theme_option.json select all > copy all codes.
➢ Go to Dashboard > Theme Options > Import/ Export, click on Import from file and paste code here:
➢ Then press Import and Save Changes
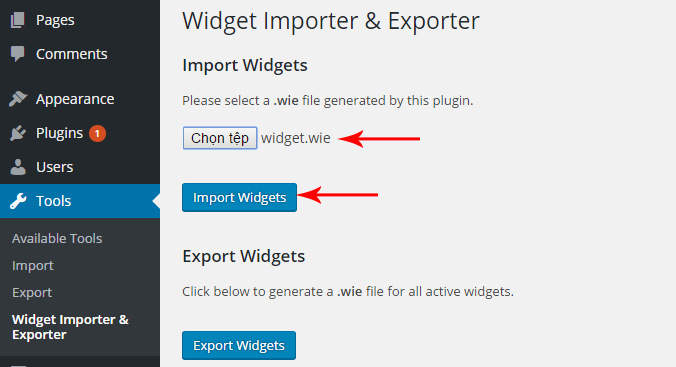
Note: This step will be done by Plugin Widget Importer & Exporter
If it isn't available on your Dashboard, please install it.
Go to Dashboard > Tools > Widget Importer & Exporter and Choose file widget.wie from download package and press Import Widgets
Go to Dashboard > Pages > Add New , Insert Page Title and set Template as Home Page
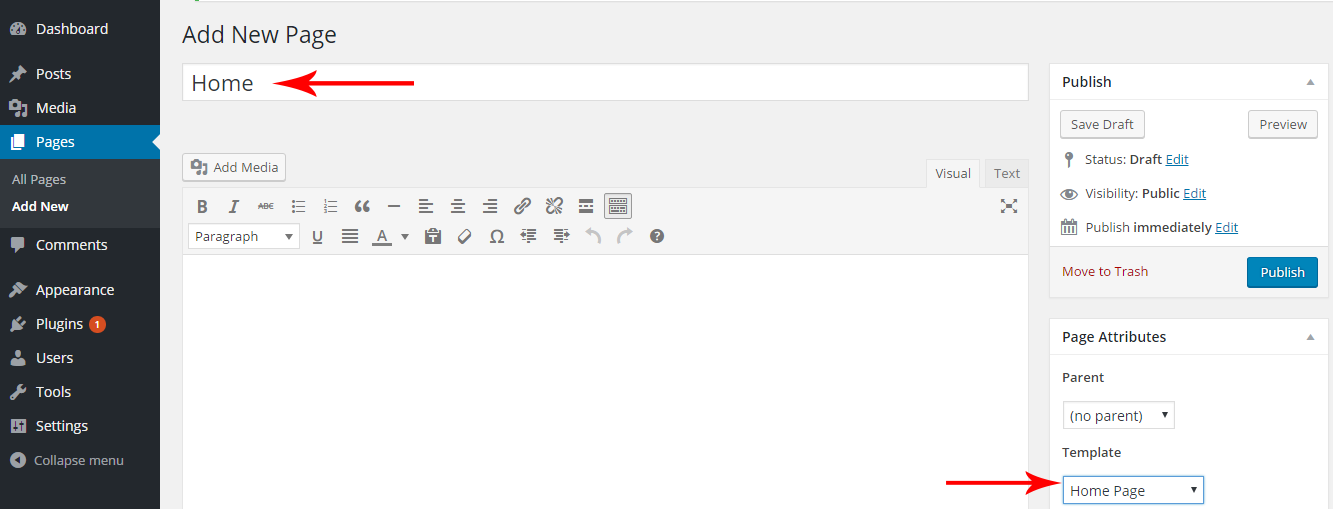
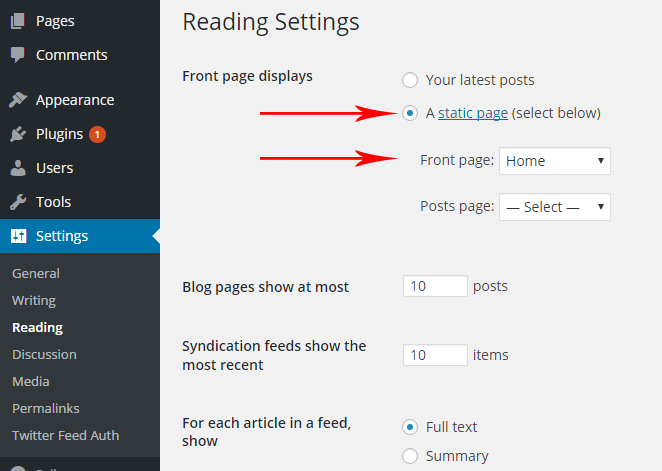
Go to Dashboard > Settings > Reading and set Front Page as Home Page,then press Save Changes
Home Page of Potara is built base on Widgets. Your Page will be done easly with Drag, Drop Interface.
Go to Dashboard > Appearance> > Widgets
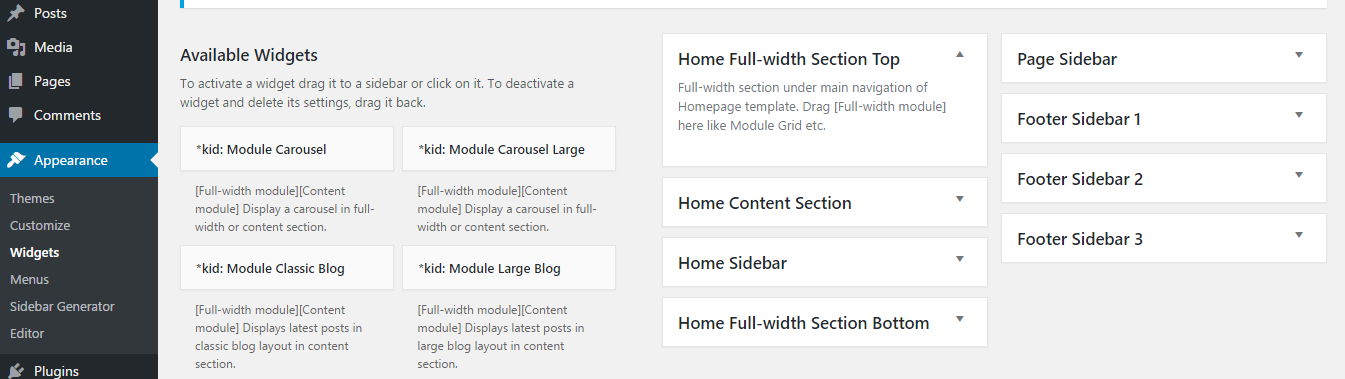
You can drag Widgets (left of site) and drop them to Widget Holders (right of site).
Home Page is organized by below Widget Holders:
Go to Dashboard > Appearance > Menus
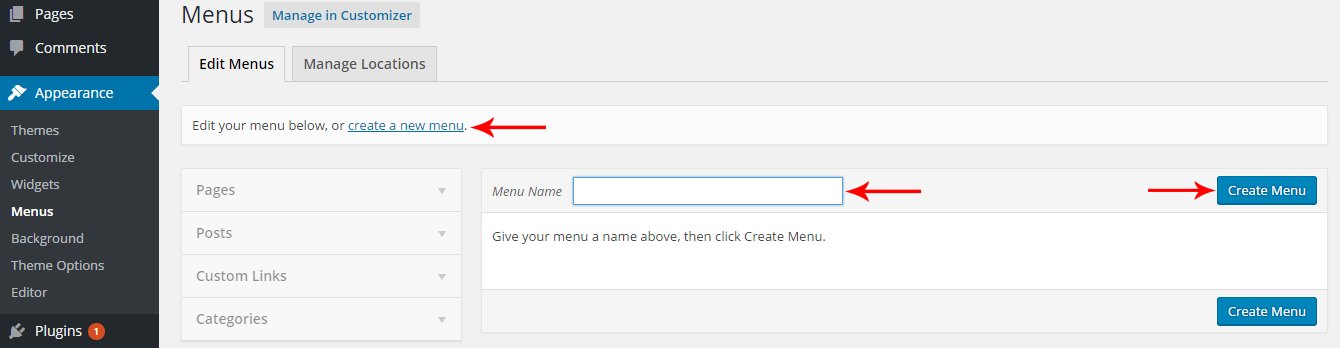
To create Header Menu on the top of Site, you can follow as below steps:
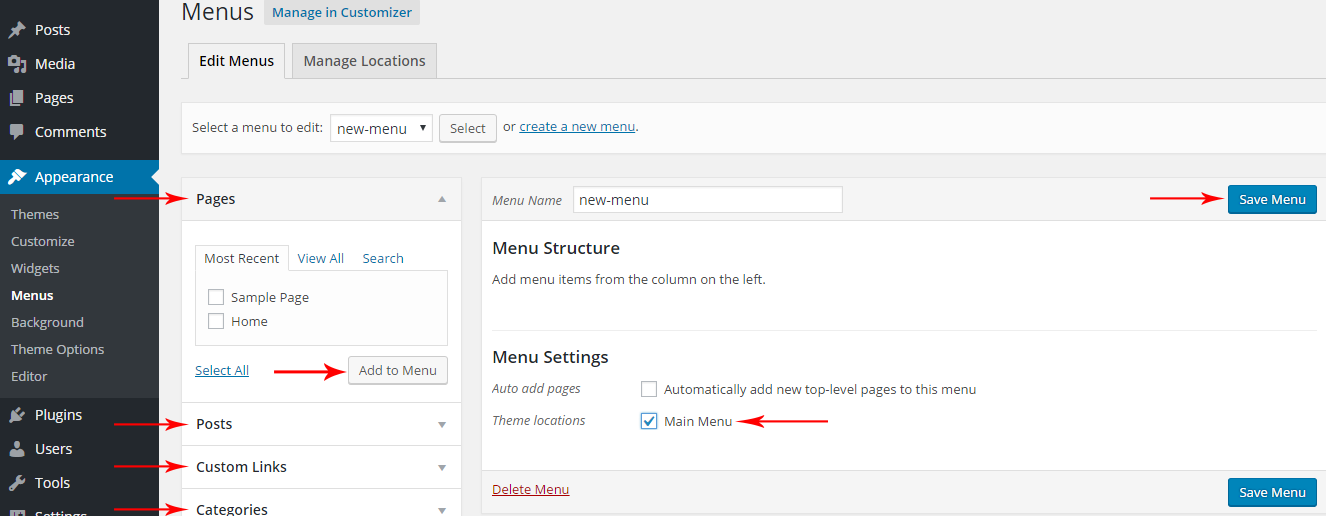
Next,you can set up for new menu by following as below steps:
Go to Dashboard > Appearance > Widgets
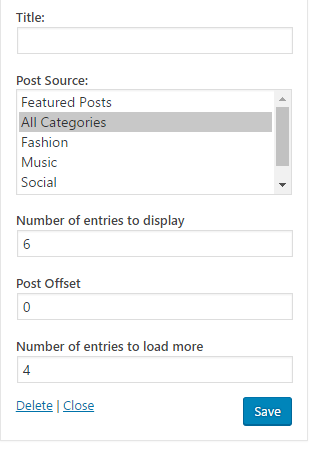
After dragging and dropping widgets in sections,you have some options to set for theme.
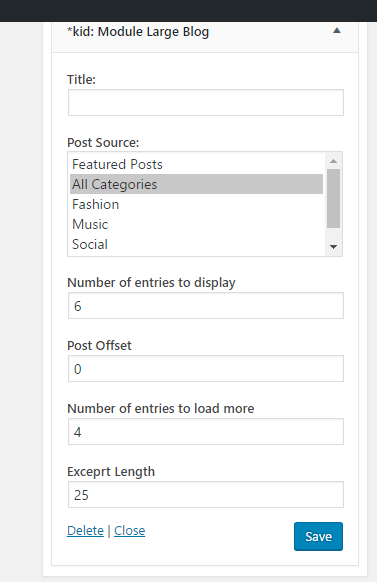
Main options of a widget as below (Press Save after changing):
Go to Dashboard > Appearance > Theme Options > General Settings
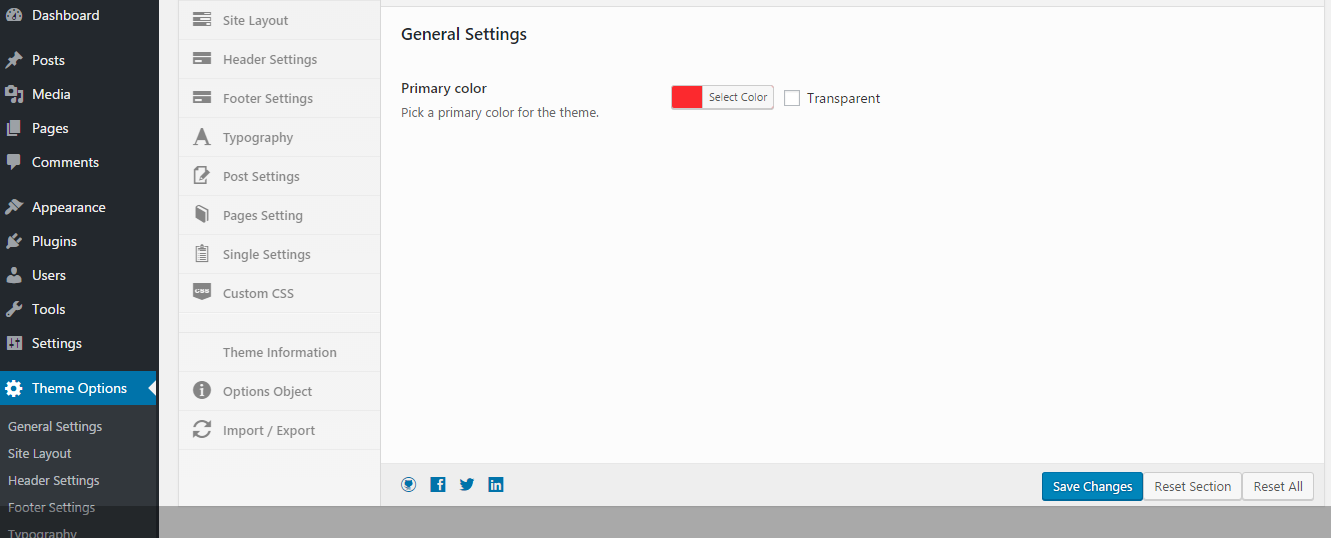
Setting the color for some sections on theme as below:
Go to Dashboard > Theme Options > Site Layout
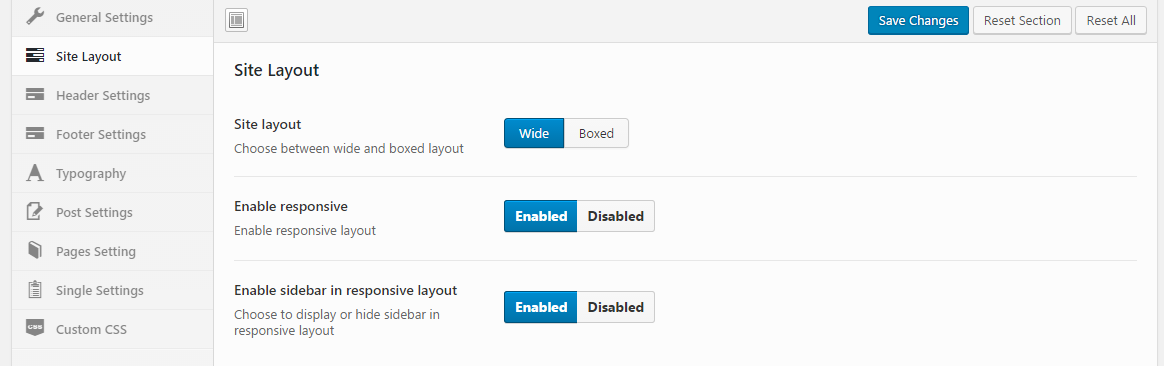
Setting the main layout of Site as below:
Go to Dashboard > Theme Options > Header Settings
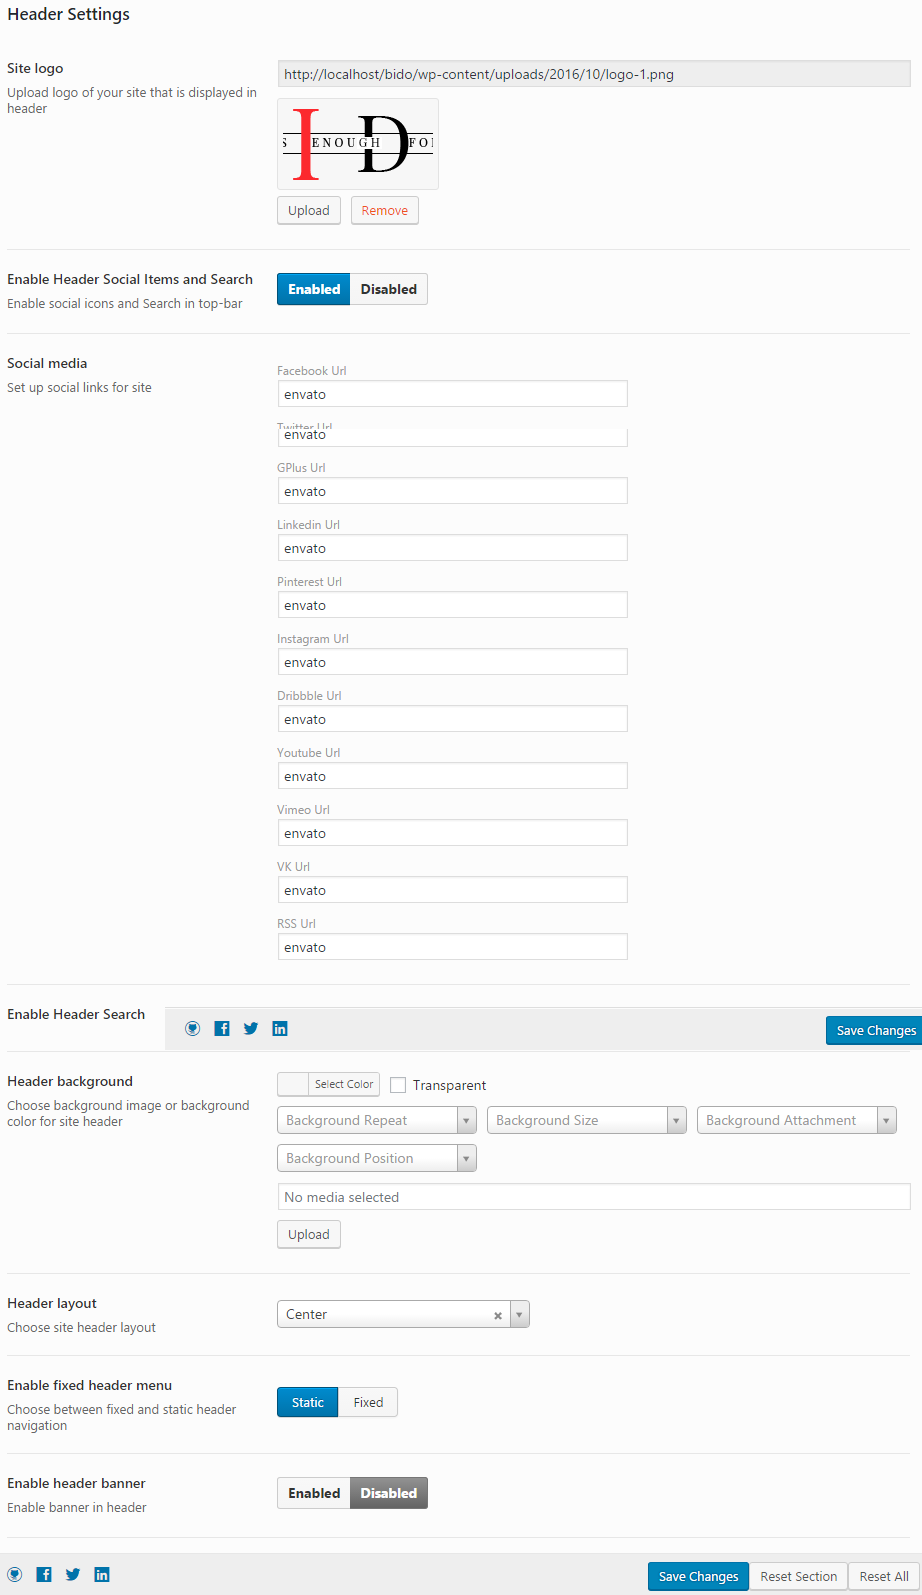
Setting Header of Site as below:
Go to Dashboard > Theme Options > Footer Setting to set up Instagram, Scroll Button and insert Copyright Text
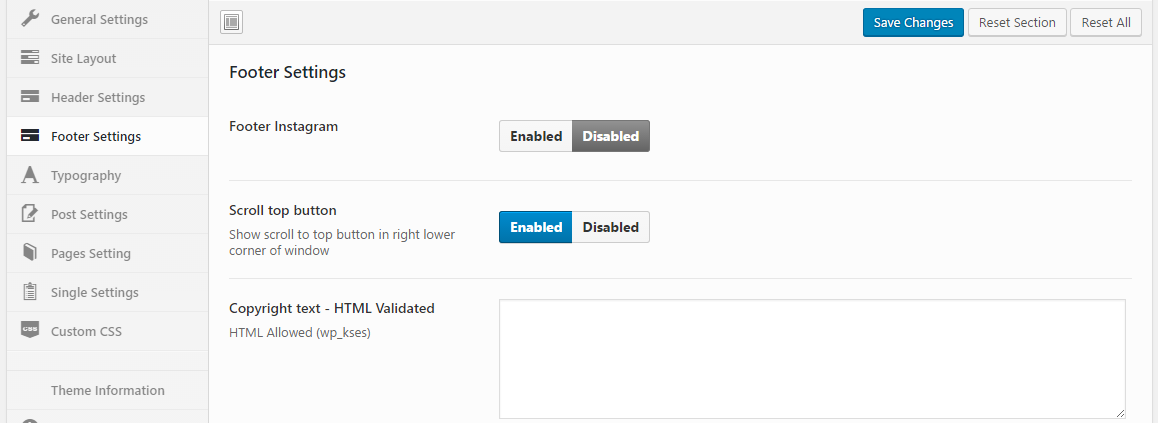
Footer of Potara also support Widgets, you can move on Dashboard > Appearance > Widgets to pick up them to Widget Holder Footer Sidebar 1, 2, 3.
Go to Dashboard > Theme Options > Typography
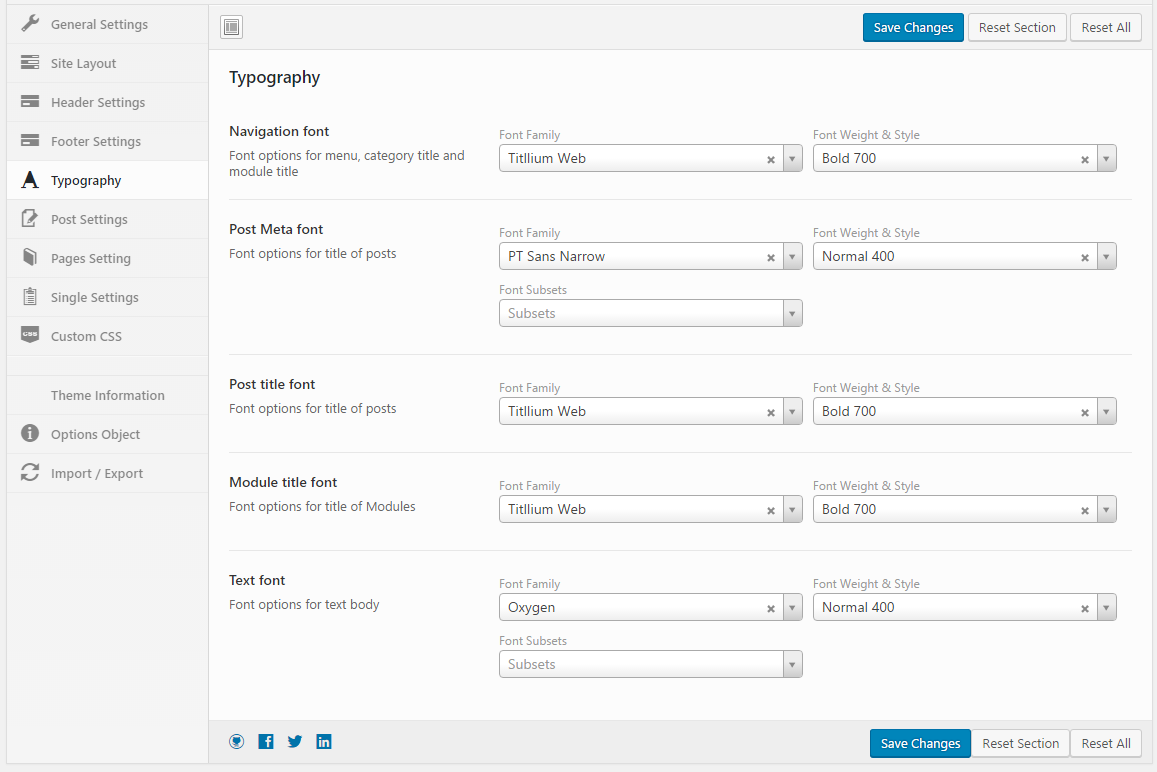
You can change some font of Site as your style. Potara supports all Google Fonts. Header font affects menu titles, category titles and module titles. Title font affects post titles. Text font affects text body, excerpt...
Go to Dashboard > Theme Options > Post Settings
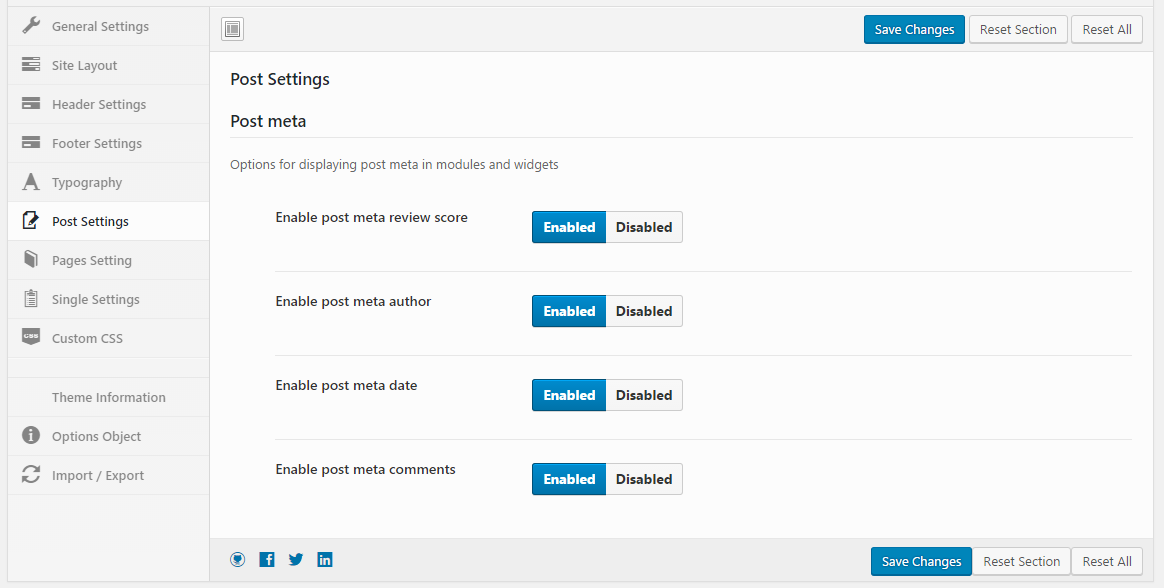
Setting the information on Post as below:
Go to Dashboard > Theme Options > Page Settings
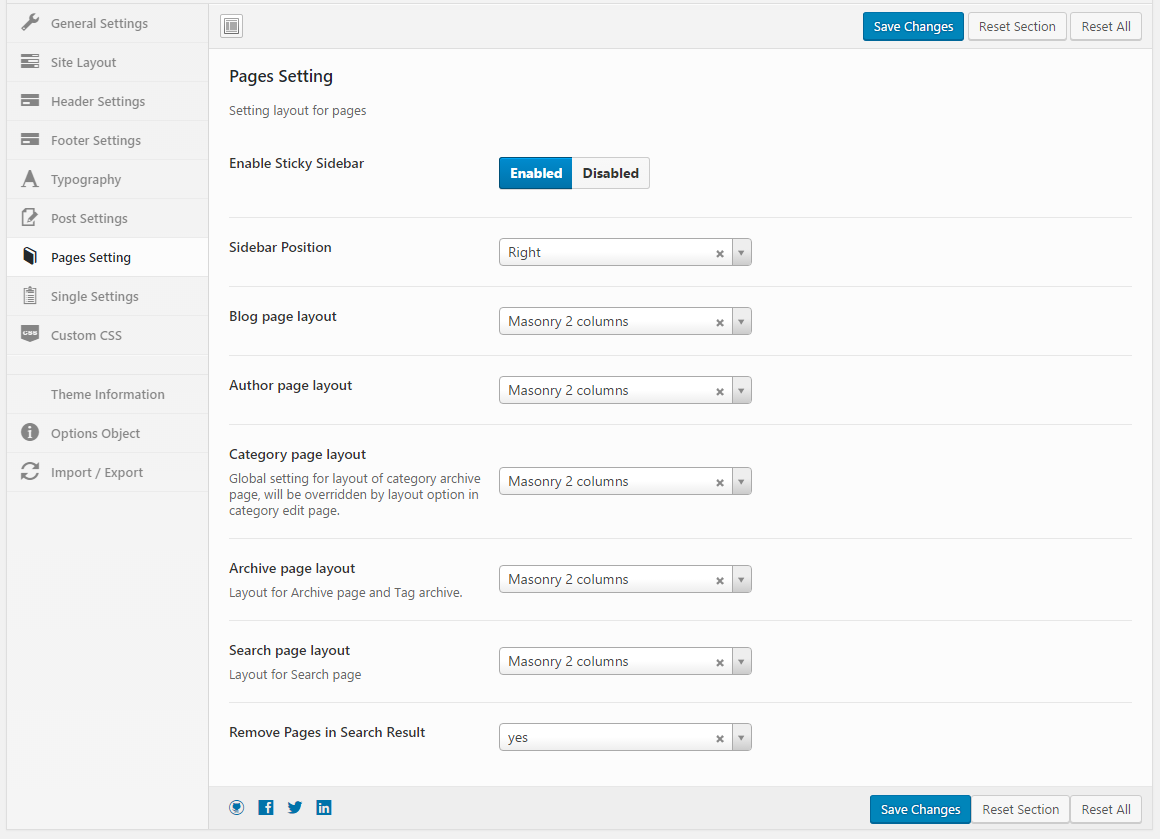
Setting Page as below:
Go to Dashboard > Theme Options > Single Settings
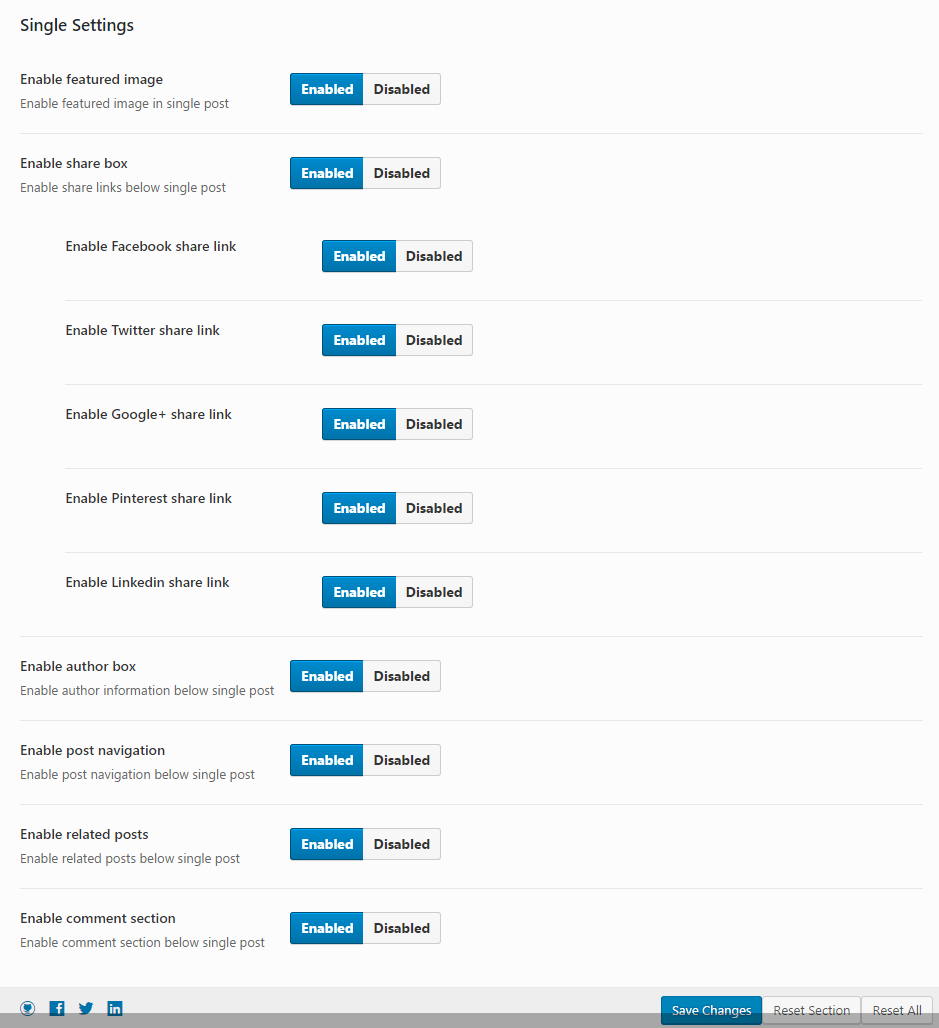
Setting Page as below:
If share box is enabled,you can select the link that you want to share by enabling it(Facebook,Google +,Twitter,...)
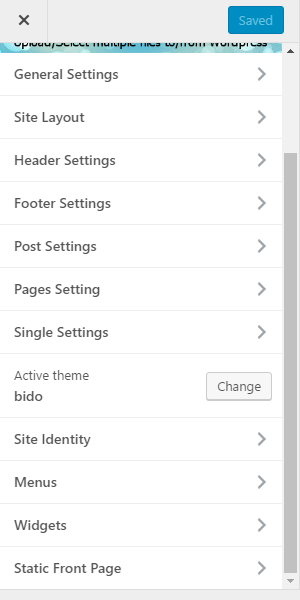
Go to Dashboard > Appearance > Customize
After pressing Customize,the new window will show many items to change (Theme option,Widget,Menu...).
After changing,please press Save and Public to save.
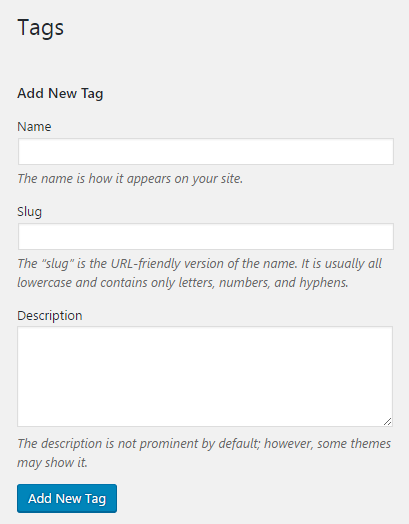
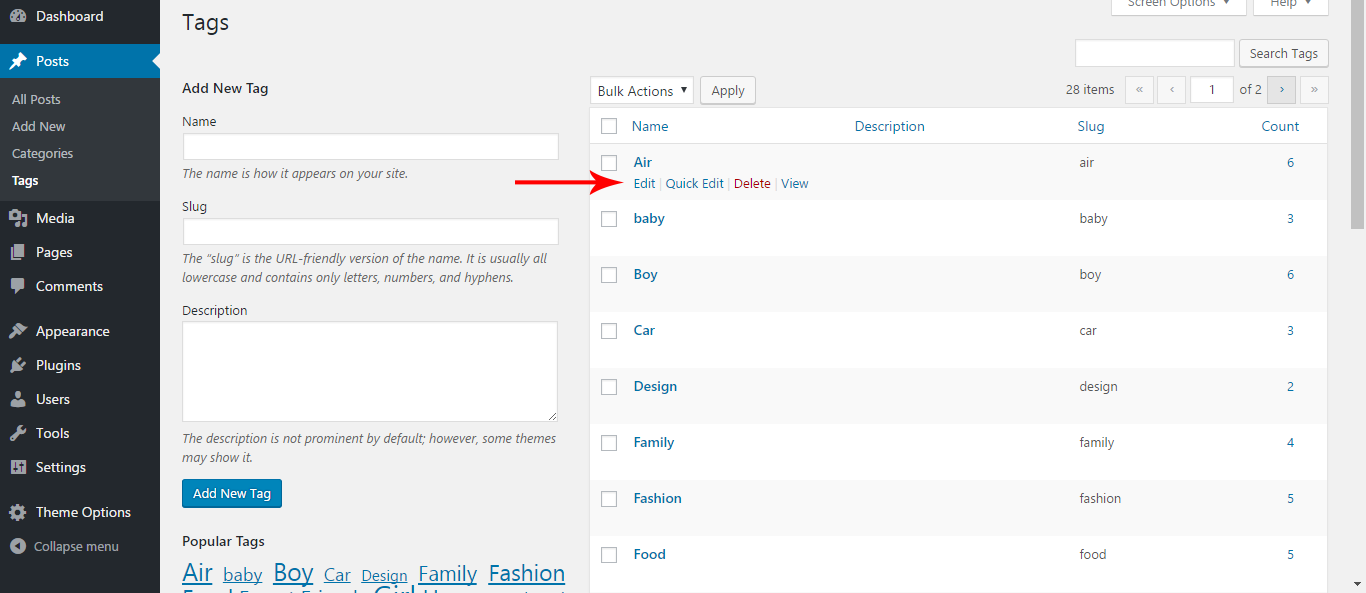
Go to Dashboard > Posts > Tags
To add new Tag,input Name,slug(Optional),choose Parent(Optional). Then press Add New Tag
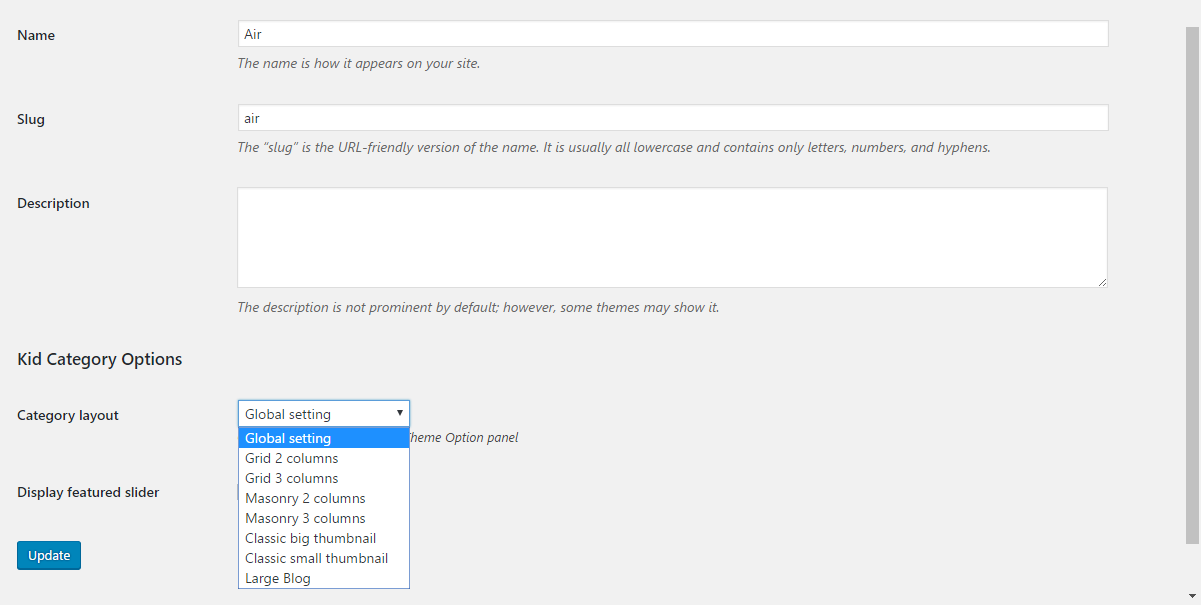
To set Layout of Tag Page, you can move on Edit Tag and select Tag layout
Go to Dashboard > Posts > Add New
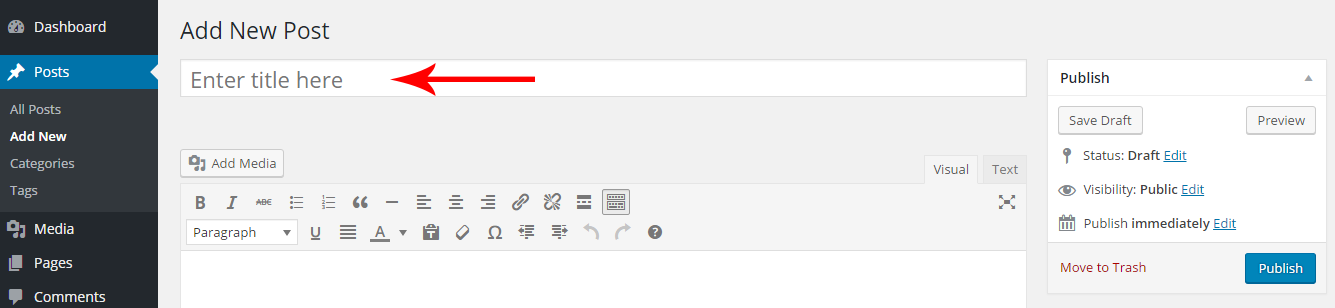
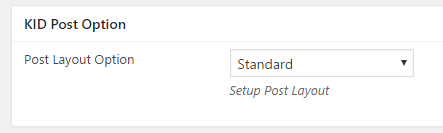
You can select layout for your Post at Post Option
We have 5 kinds of layout: Stardard,Prallax Image,Prallax Image no Sidebar,Scrolled Image,Scrolled Image no Sidebar.
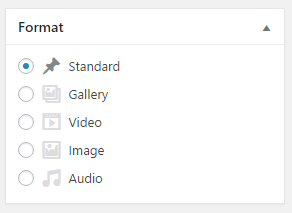
You can select format for your Post is Gallery, Video or Audio
To enable feature Review of Post, move on Review System an tick on Include Review Box.
Now you can insert criteria list an rate them, adding summary, setting layout of Review Box.

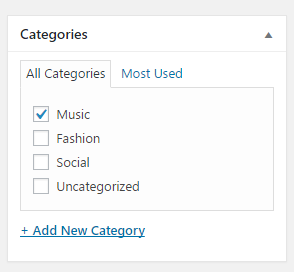
You can sellect categories for your Post
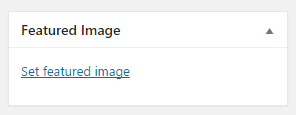
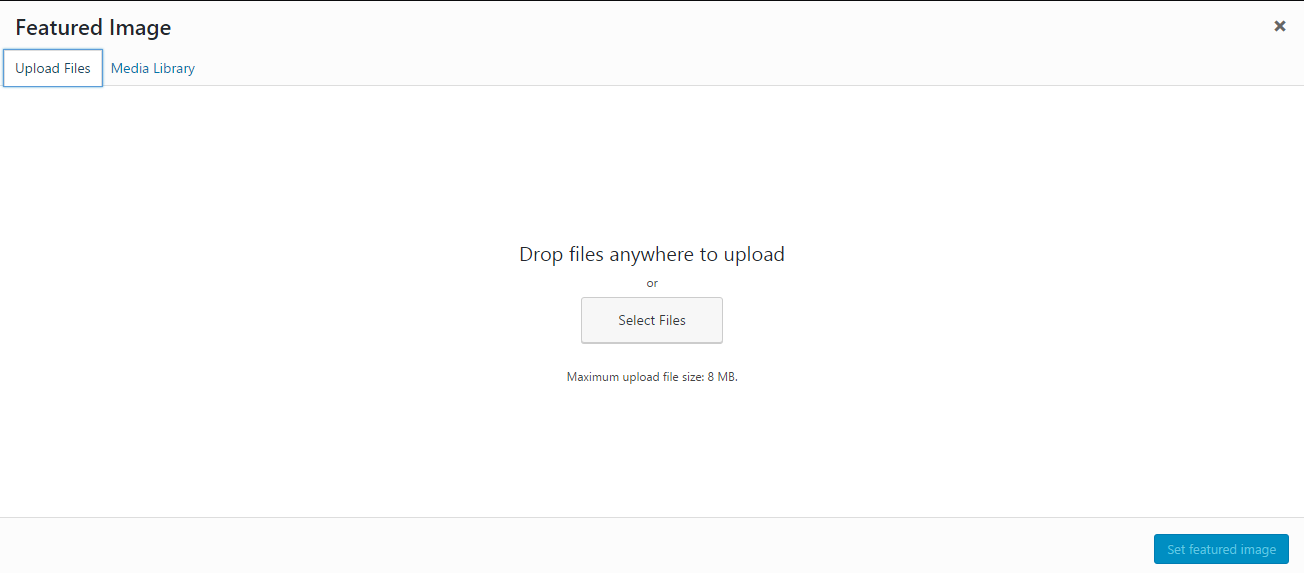
You can set a featured image for post by uploading from your folder or select from media library.
Go to Dashboard > Posts > Categories
To add new Category,input Name,slug(Optional),choose Parent(Optional). Then press Add New Category
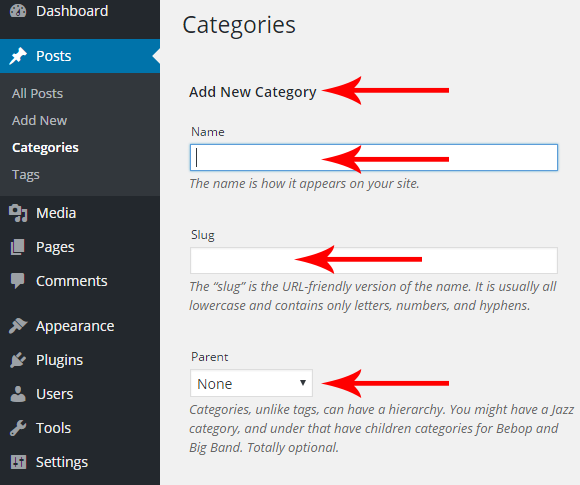
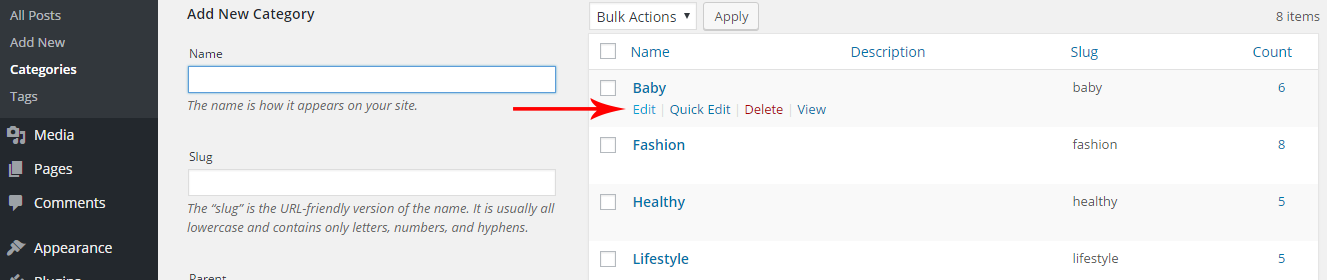
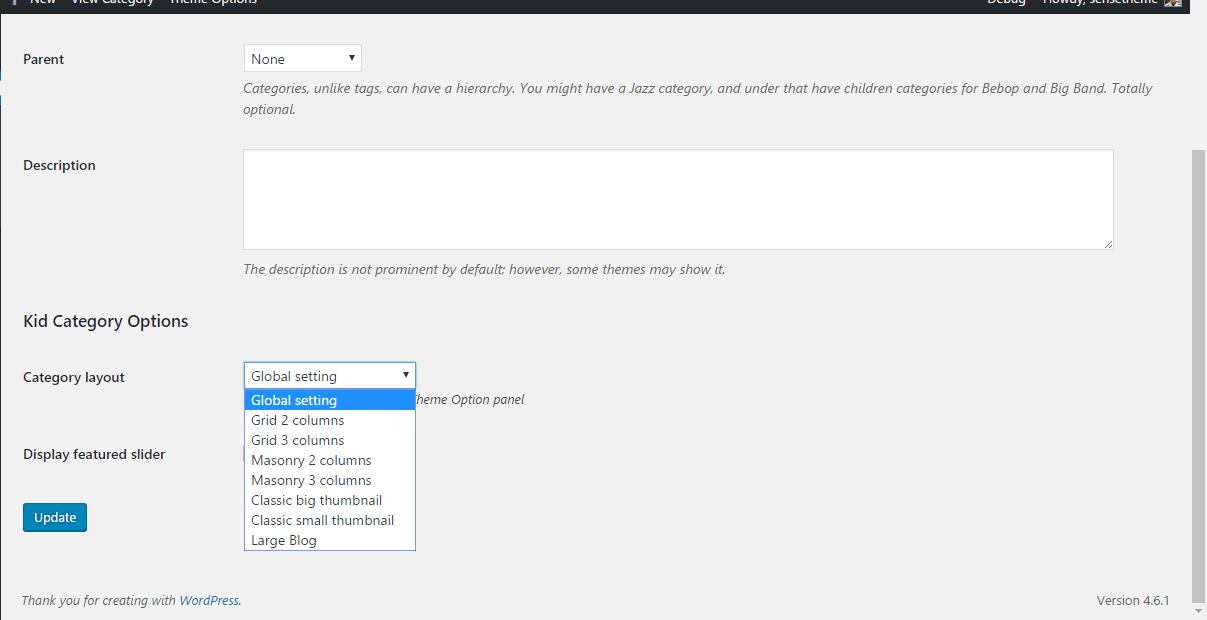
To set Layout of Category Page, you can move on Edit Category and select Category layout
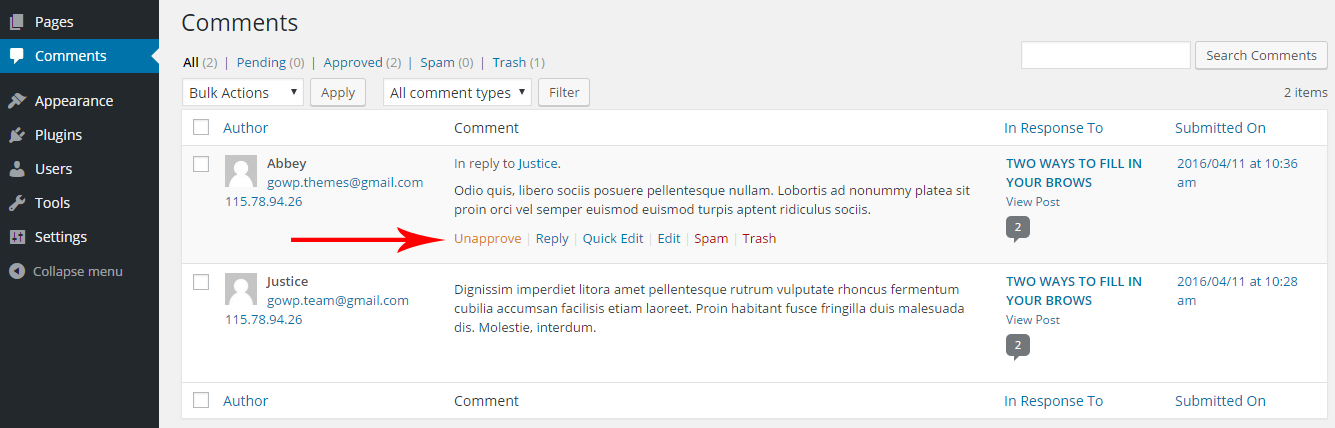
Go to Dashboard > Comments
You can control all comments on all posts
Some items that you can use as below :
You can translate WordPress Themes by using PoEdit
So you are looking to change the language of your WordPress based site to something else than English. Let me give you some simple steps to achieve this.
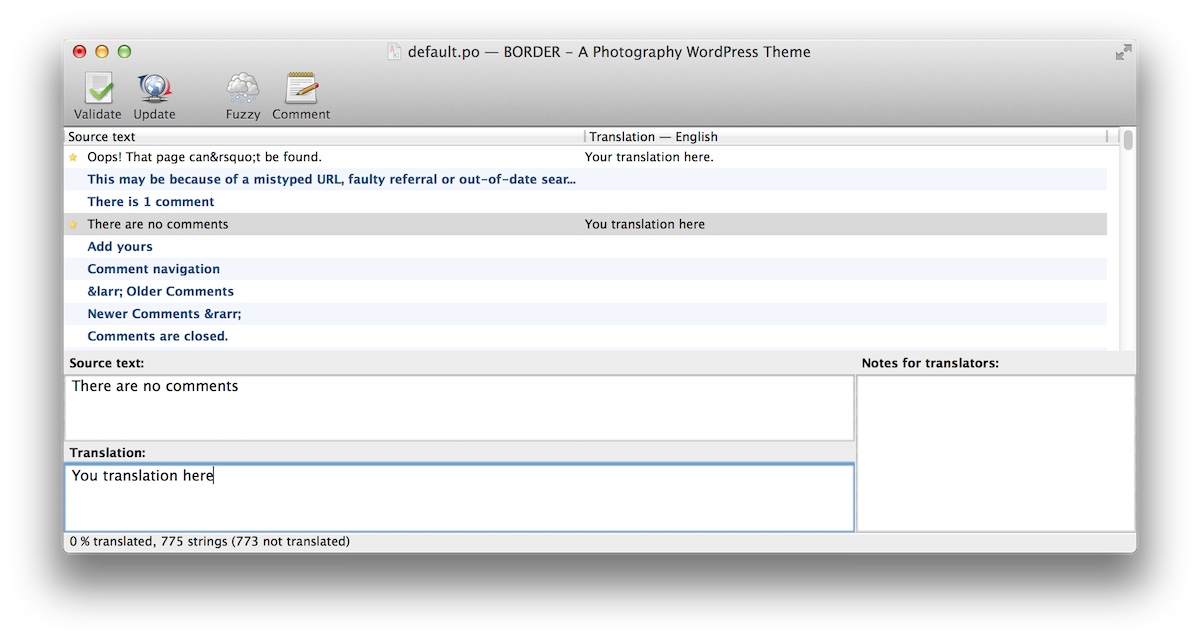
You can reopen the .po file at any time and change, continue to translate, etc.
Thank you for choosing Potara! We truly hope that you have a good experience with our themes.
If there is any issue, please don't hesitate to contact us as below